Get inspired, create amazing DIY wall art on a budget!
This DIY wall art guide will teach you how to create amazing wall decor at an affordable price. We’ve gathered tons of free print resources, tips on finding affordable frames, how to get great print quality at home or at the store, and we share templates that will help you layout a great gallery wall.
You’ll be decorating those empty walls in no time!
Wall art is important for home decor. It allows us to personalize our homes and tell our visitors a story without saying a word.
Have you seen the cost of wall art lately? It’s ridiculous!
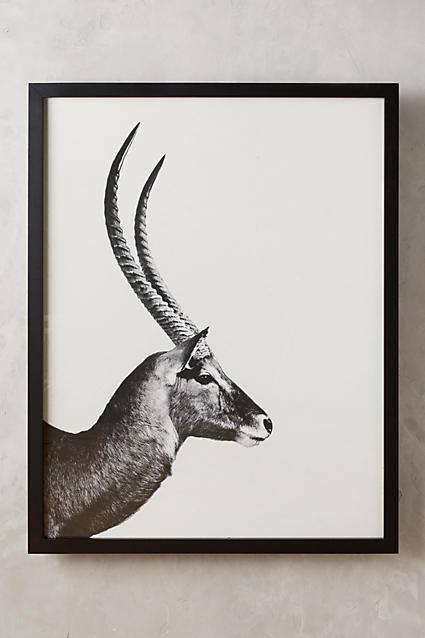
Simple wall art from Anthropologie, like this antelope print below, goes for $2000!
Thankfully, you don’t have to pay thousands of dollars to have awesome wall art!
We’ll show you how to create beautiful DIY wall art on a Dollar General Store budget! Oh, how I love Dollar General!
Related: 11 Cheap DIY Wall Decor Ideas
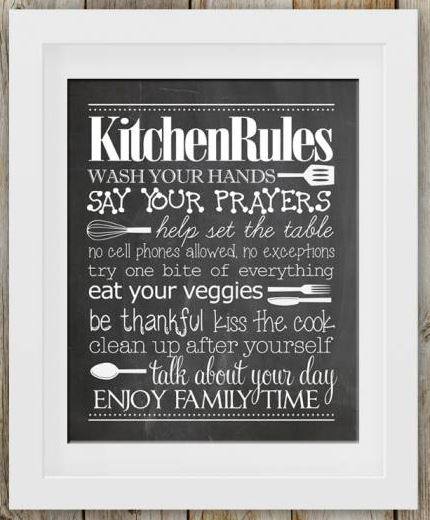
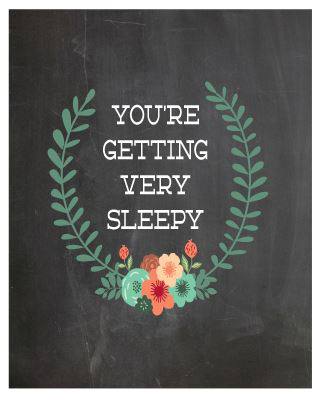
You don’t need artistic talent to have beautifully decorated walls. Thanks to the generosity of many online designers and artists you simply have to push the print button!
The internet is loaded with free prints and illustrations (aka freebies). Bloggers share their art free because it helps attract viewers to their site and increases their chances of gaining freelance work. It’s a win-win situation!
There are thousands (maybe even millions) of different designs available on Pinterest and via Google search.
If you see the words ‘Freebie’ or ‘Free Printable’ that usually means they have given permission to print the art and hang it on your wall. Learn more about the various permissions and protections regarding online art here.
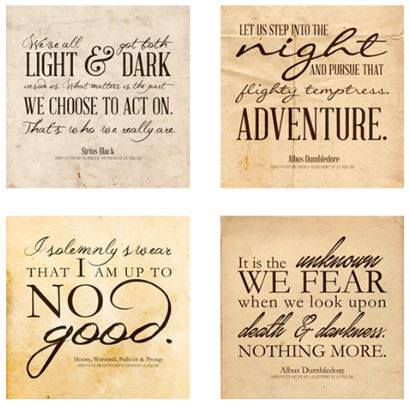
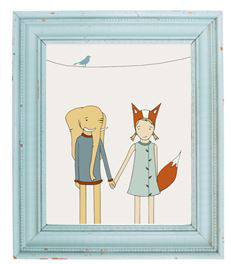
Here are 26 high-quality links that will net you hundreds of awesome printables in every theme imaginable. These are absolutely 100% free to use in your home.
Just click on the blue link above the image to visit the site and download the art.
MHL reader, Melissa Soro, has a Pinterest board with over 750 free printables. Just click on the blue link.
You have two options for printing your favorite free printables; your own printer or a printer service. We’ll go over the basics of both options.
Paper Quality is Important
You will want to use high-quality photo paper regardless of where your DIY wall art is printed. You want to use thicker, image quality paper because it holds ink better and lasts longer.
If you own a regular household printer (and, unlike me, you know how to work the silly thing) you can print your newly found wall art right at home.
If the print is going to be 8.5″ x 11″ you’ll have no problems, just load the tray with photo quality paper, choose full-color or black and white, input the size you want, and click the print button.
You can also print large poster-sized prints at home with your standard home printer. Just be sure to keep a few things in mind like pixels, dpi, and PPI.
You need a high-quality image in a proper size to get a large, high-quality poster. If you only have a 2″ x 4″ image you won’t be able to print it at 24″ x 36″ without losing quality or hiring a professional to resample the image.
Microsoft Paint, a program on just about every PC on earth, is a good software to use when printing DIY wall art.
Printing Large Posters with Microsoft Paint
On a windows machine, open the image in Microsoft Paint and then click on File > Print > Page Setup. On the bottom right of the Page Setup panel, you will see an option called Scaling.
Click on the Fit to: and fill in the spaces. Remember a standard size sheet of paper is 8.5″ x 11″ so if you put in 2 and 2 you will get 4 sheets of paper that will make an image 17″ x 22″ once taped together. Click here to get complete instructions.
Rasterbator is a popular online software that will help you create larger, multi-page prints. Click here to learn more about Rasterbator.
BlockPosters.com may be useful to you, too. All you have to do is upload your image and tell the app what size you want to print. It does the rest.
If you are anything like me, you own a printer but it doesn’t work half the time or any of the time. Using a professional printing service is smart if you prefer your larger posters to be printed on a single sheet or you just don’t want to deal with the house printer.
Walmart has printers that can print just about any size on a single sheet of paper or canvas. In several cases, they will do it while you wait.
Walmart prints start at $2.84 for an 8″ x 10″ without a frame.
A 20″ x 30″ full-color poster is around $18.00. Click here to go to Walmart Photo Printing.
I found a website called Parabo that offers a 4′ x 3′ black and white print for $20. Full-color is $25. You can check them out here.
Other stores that print images and posters: Office Depot, Kinko’s, and FedEx. Your public library may offer printing, too.
UPrinting has reasonable prices for posters. They offer single print runs and can print on mounted PVC board (at a higher price). A 24″ x 36″ semigloss poster is $23.80. Click here to go to UPrinting.
VistaPrint has affordable printing options. A 16″ x 20″ is $6.74 for a matte finish (glossy finish is an additional $2.69). Click here to visit VistaPrint.
This company does 16″ x 20″ matte poster printing for $3.00 each but it will have their logo on the back side of the print. It’s $1.50 more if you want a blank back. Click here to learn more.
Overnight Prints has 24″ x 36″ poster prints starting at $6.99. Click here for more details.
There are a couple different ways to save money when buying a picture and poster frames. The cheapest route is to shop flea markets and thrift stores. Goodwill always has a few old framed paintings.
If you want new frames you can buy budget frames at Dollar General or any number of dollar stores across the nation.
Walmart and Amazon are also good places to buy picture frames in bulk. Here are affiliate links to Walmart and Amazon (click on the images to be taken to the sales page):
Six 8″ x 10″ frames for $15.97:
Six 11″ x 14″ frames are $24.00:
Amazon has a set of 10 assorted sized frames for $35.04:
You don’t have to use picture frames to hang your awesome DIY wall art. There are tons more options! Some are a bit more expensive than others but they are all awesome!
Clipboards are a great way to hang DIY wall art. A clipboard is ideal if you plan on changing the art often since it doesn’t offer much protection.
Source: Craft-o-maniac.com
Stretch wire and thread curtain clips through to create this DIY wall art display. You can attach the wire to a frame or the wall itself.
Combine clips and stained board to create this vintage-inspired clipboard. Get the step-by-step directions here.
Decoupage your DIY wall art onto a piece of scrap wood. This is especially great for a simple, bold design such as the airplane below (art available at Pottery Barn).
Watch a video to learn how to decoupage an image onto wood here.
You can have a sheet of plexiglass cut down to any size or shape you want at Lowe’s for a very reasonable price. You can also find frame bolts that tighten the two sides together and hold the art. Learn how to make it here.
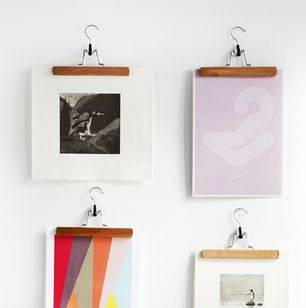
You can find pants hangers just about anywhere. Why not put them on display?
Washi tape used to be hard to find in the US but Walmart carried it now. Just place all four sides and then cut the tape on the diagonal to create clean corners. See more washi tape ideas here.
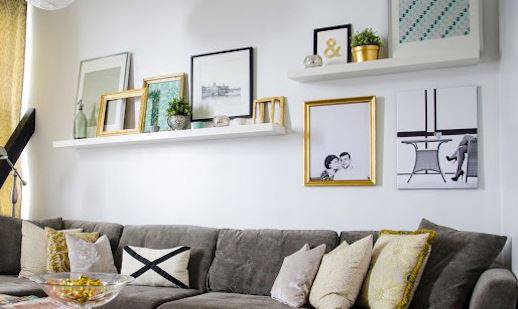
Narrow ledge shelves are perfect to hold framed images.
If clothesline and clothespins can hold wet clothes it can hold small photos and prints. Paint or decoupage your clothespins for a little added pizzazz.
You can make this hanger with some rope, 2 eye hooks, and 1″ by 2′ long furring strip.
Once you have the DIY wall art framed, you may want to create a gallery wall or collage. A Gallery wall is created by grouping several prints of varying sizes together on a single wall.
A gallery wall is a favorite way to create bold wall displays and is a powerful tool in home decor. It’s also a great way to tell a story about your family or favorite things.
A group of like objects displayed together creates an interesting focal point that pulls the eye toward it. Small spaces can feel larger if focal points are used correctly.
Creating a gallery wall is fairly easy once you decide on a layout for the collage. Popular layouts include diamond, rectangle, square, checkered, triangle, and even spiral.
Placing the DIY wall art on the floor will help you get a good idea of the placement for each frame. If you still can’t decide on placement you should find a template you like.
If you’re indecisive, or just aren’t sure what looks best for your gallery wall, a template will help you tremendously.
These templates from Pottery Barn should help you determine which layout you like best and will help you position your DIY wall art to create an attractive gallery wall:
The spiral template uses a larger frame as the centerpiece and then places smaller square and rectangle frames around it, ensuring the frames are evenly placed from the center frame.
The reflection template places 10 frames in various sizes along with an even top and bottom line to create an attractive gallery wall.
The checkered gallery wall includes 9 framed prints. Four larger squares and five standard 8″ x 10″ frames. Place an 8″ x 10″ frame in the middle first, then use the four square frames around it. Use the remaining smaller frames on the corners.
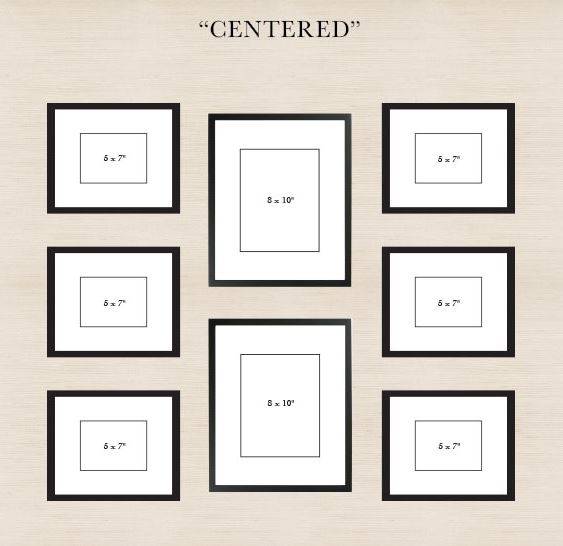
This centered template starts with two evenly spaced vertical frames in the middle flanked by three smaller frames on the left and right.
Pottery Barn also offers the following tips to help you create a great DIY wall art gallery:
Gallery walls are so popular right now that a company called PictureWall will sell you a complete kit to create your own for only $449.00.
Nope, that’s not a typo. For $449 you get 10 photo frames in various sizes and styles along with prints to go in them (they have an online image vault you pick from), and a template guide to show you exactly how to place the frames. They will mail everything to you in one handy box, too.
Technically, we just saved you $410.00 by showing you how to get 10 framed prints and the template to help you create an awesome gallery wall for less than $40.
Now that’s budget-friendly DIY wall art!
Thanks so much for reading Mobile Home Living!
Learn about mobile home additions and understand the pros, cons, and necessary steps for a…
Learn how to paint mobile home walls effectively, overcoming challenges with shiny surfaces and battens…
There're a ton of smart storage hacks to organize your camper on Pinterest and Amazon…
A small bathroom should be beautifully focused on function. Of course there are a few…
Over 100 beautiful manufactured home deck and porch designs plus free design plans and DIY…
If you own an older mobile home with a flat roof or have needed to…
This website uses cookies.