One of the most popular questions we get in our Facebook group, Mobile Home Living: Remodels and Repairs, is the topic of removing walls in a mobile home.
Many manufactured homes have half-pony walls, weirdly designed built-ins, and oddly angled walls that separate living areas. Open floor plans are the most popular floor plans, so many homeowners want to remove these walls.
The main concern when removing mobile home walls is knowing which walls are load-bearing. you can remove it. In this article, we will cover how walls are built, mobile home construction, and step-by-step instructions on how to remove a wall.
Removing walls in mobile homes depends on several variables, such as the type of construction and layout of your home. Another important variable is how much money you want to spend or how badly you want the wall removed. In reality, anything is possible if you want it bad enough, but sometimes, the cost and potential long-term side effects are just too much.
Before we begin, please check out our article, How Manufactured Homes are Constructed, to learn more about the construction and anatomy of interior and exterior walls, ceilings, and flooring.
In a single wide mobile home, there are typically very few load-bearing interior walls. In site-built construction, a wall that runs perpendicular to the roof joists may be carrying weight, but that isn’t always the case with mobile homes because of their construction. However, the perpendicular rule is still a very good rule to keep in mind.
A manufactured home’s stability and integrity are typically derived from the roof and the weight is carried on the exterior walls, down to the outriggers on the chassis. This is a concept called integrated engineering. That’s why the outriggers are so important and we always recommend that you get an upgrade if needed.
A manufactured home steel chassis being welded (it’s upside down):
Some builders describe integrated engineering as ‘roof-down construction,’ meaning the mobile home’s structural integrity is derived from the roof. It makes sense because the home’s weight sits on a steel chassis and that chassis is what they use to pull the home so to create the strongest ‘box’ they need to focus on the roof first.
There are many ways for manufactured home builders to design the framing and loadbearing placement, and each builder does it a bit differently. That’s why finding information on your exact home model’s construction is nearly impossible.
Understanding how your manufactured home was constructed is tricky because builders rarely, if ever, release engineering or construction information for their homes.
The manufactured housing industry isn’t known for its customer service. We can barely get ahold of an owner’s manual for a recent manufactured home model so finding actual load-bearing information is next to impossible.
Only the manufacturer that you purchased the home from can give you the schematics and load-bearing information. Don’t be afraid to call them and ask questions. If your home builder is no longer in business you are probably out of luck, unfortunately.
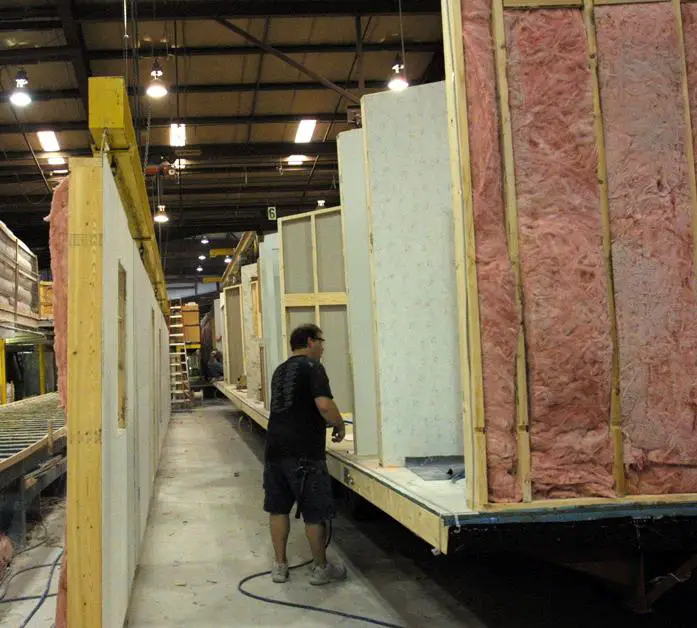
In this next photo you can see a few interesting things. First, in the bathroom on the far left, you can see the flooring is under the wall so if you remove that wall carefully you may not have to replace the floor covering.
The roof and the perimeter of the home are not added until the very end after the interior is close to being complete.
Once all exterior walls are placed the roof is added and it creates a perfectly strong and structurally sound home that can be pulled on the highway going 55mph!
Read about the Tools Every New Mobile Home Owner Should Have in their Toolbox
Here’s what a the perimeter wall looks like on a single wide mobile home looks like when you remove the the wallboard (and everything else):
You can expect to find studs every 16 or 24 inches in mobile home interior walls.
A double wide is essentially just two single wides joined together on site. The center line is called the marriage line.
As long as you’re not modifying the marriage line, load-bearing interior walls, or the exterior walls and corners you shouldn’t have any issues when removing walls.
In other words, remove all the partition walls you want but leave the structural walls alone.
In Single Wides
In single wides, there is rarely any load-bearing walls. This is because the length and number of the roof trusses can handle the weight of the roof.
However, ceilings that go from one height to another on the same wall can be a sign of a load-bearing wall. That could signify that a shear or load bearing wall is being utilized. Each company did things just a little different and I’m painting with a broad stroke here.
I always advise that mobile homeowners leave their marriage lines alone. Incorrectly modifying the marriage line of a double wide can create roof leaks, weakened structural integrity, and several other very expensive issues.
You really need to know about construction before you remove a wall on the marriage line. The weight that the wall is holding has to be redistributed correctly. That takes a lot of math, experience, and construction knowledge.
Marriage walls support your roof ridge beam. That beam is a particular thickness and length to hold the weight of the roof and distribute it down to the ground. If you remove any section of a load bearing wall at the marriage line you will need to create a
Still, with all that said, removing walls at the marriage line and redistributing the weight with a beam and span or post support system is very popular. This is when things start getting serious and you need to have a professional contractor and a licensed engineer involved. Your home was designed a particular way and modifying that can cause a domino effect.
If you are removing an interior wall there is an order in which you should do it. This ensures you don’t start busting through a wall and find out that it is load/shear bearing or full of juicy wires.
Turn off the electricity in both the room you are in and the neighboring rooms. If possible, turn the breaker off on the entire side of the home you’re working on.
If you’re near a bathroom or kitchen or there’s a slight possibility that there could be a pipe anywhere near where you’re working, turn the water off as well. Don’t forget about the ventilation pipes or vent stacks to your home’s plumbing system.
At this point, we have only removed the trim, battens, and flooring (if applicable). Now, it’s time to test for wiring and plumbing before we start cutting studs.
Next, remove the battens or strips that cover the seams where your wallboards meet. You can read how to do that here. Also, remove the base, chair rail, or crown molding from the wall if you have them. The seams will cover a stud. You can use a stud finder to mark where all the other studs are or just measure 16 or 24 inches (depending on what framing your home has).
This step sounds odd, but it shouldn’t be skipped. Use the side of your fist to knock around the wall. Start at the ends and work your way inward. You’re doing this to help you locate the studs and to loosen the glue holding the wallboard to the studs.
Also, notice how the electric wires are placed in the walls. Usually, wiring is about one foot up from the flooring on the exterior or perimeter walls, but interior walls are different.
You may find a ton of glue holding the walls to the studs. This image by Instagram user MobileHomer shows the amount of glue used to attach the wallboard to the interior studs in her home.
If your interior walls sit on top of the floor covering (and many mobile homes do), you may want to leave the carpet alone. If it’s not too damaged you may be able to get by without needing to replace the flooring. If you are installing new flooring then go ahead and cut the old flooring at the perimeter of the wall so you can carefully pull it pack.
Once you know there are no wires or pipes you can use a new blade to cut through the wallboard. No studs or framing should be touched yet.
Cut the wallboard into a small rectangle starting at the top or bottom corner of the wall first. This will allow you to check for signs that the wall is load-bearing without too much damage.
If you think you have a load-bearing wall, you should stop and consult an engineer before continuing the project.
If there are no signs of a load-bearing wall, cut the wallboard across the middle. Use your hand, a crowbar, or a hammer to gently pull the rest of the paneling away from the framing.
Do not alter or harm the framing within the wall. Go a little at a time to ensure no wires or pipes.
Now that the wallboard has been removed from both sides of the wall, you will need to get the glue loosened and the staples and nails out of the bottom plate and the top plate of the wall frame.
At this point, you can take a Sawzall and cut the studs midway between the floor and ceiling. You could also cut the vertical stud from the top plate and bottom plate – it’s really up to you. I think by leaving the vertical studs on the top and bottom plates you allow yourself a little more leverage to loosen them from the ceiling and floor.
Keia Holm lives in a Hart single wide and it had an odd divider wall between the kitchen and the living room that she wanted to remove.
Below is the image of the wall with one side of the wall removed. After the other side of the wall is removed and the frame you can see the white space left. A little paint and a new home for the light switch will fix it right up.
When you are ready to remove the studs it’s best to remove any nails, staples, or screws and then carefully pry the lumber from the floor and any attached walls. You don’t want to scar the ceiling. Ceiling panels are a pain to replace in manufactured homes!
Consider the following before you remove the studs from the ceiling and floor:
Of course, by removing a wall you’re probably going to be remodeling the room so you already have a good idea of how you’re going to handle these issues.
Related: Some Questions about Removing Walls in a Mobile Home.
That’s it! You have successfully removed a wall in your mobile home!
Remember, every manufactured home is built differently; therefore, removing a wall in your home may not be possible. This article should not be considered professional advice. Please consult a professional before attempting a major modification.
HGTV had a good warning on one of their shows about removing walls:
If you can’t identify it by its proper name you shouldn’t remove it.
HGTV
If you’ve removed a wall in your mobile home, please comment below about your experience. Every little bit we can share can help someone out there get one step closer to their dream home, and that’s a pretty awesome thing to help someone do.
As always, thank you for reading Mobile Home Living!
Updated April 13, 2019. Originally Published in 2014.
Image Sources: Clayton Homes, Laurie Beadle
Learn about mobile home additions and understand the pros, cons, and necessary steps for a…
Learn how to paint mobile home walls effectively, overcoming challenges with shiny surfaces and battens…
There're a ton of smart storage hacks to organize your camper on Pinterest and Amazon…
A small bathroom should be beautifully focused on function. Of course there are a few…
Over 100 beautiful manufactured home deck and porch designs plus free design plans and DIY…
If you own an older mobile home with a flat roof or have needed to…
This website uses cookies.