As we all know, the farmhouse style has taken America by storm and for good reason. I like to think of the style as a middle-finger to the overly materialistic and technology-stimulated lifestyle that we’ve ended up with. A real farmhouse owner will make do with what they have or with what they can make which makes it a near-perfect style for Mobile Home Living. That also makes this farmhouse style backsplash project a fairly easy project for DIY newbies.
There was a time when backsplashes weren’t considered such an important part of the kitchen. Instead, the area between the cabinets and the countertop usually had the same wall treatment as the rest of the room. Today, the backsplash is one of the most important places to inject style and personality into a room with so little space for decor.
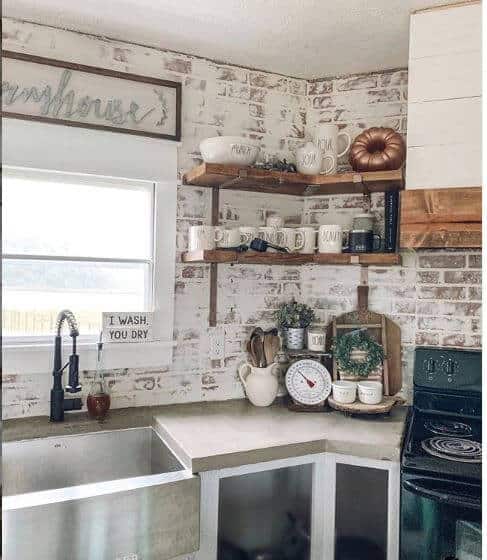
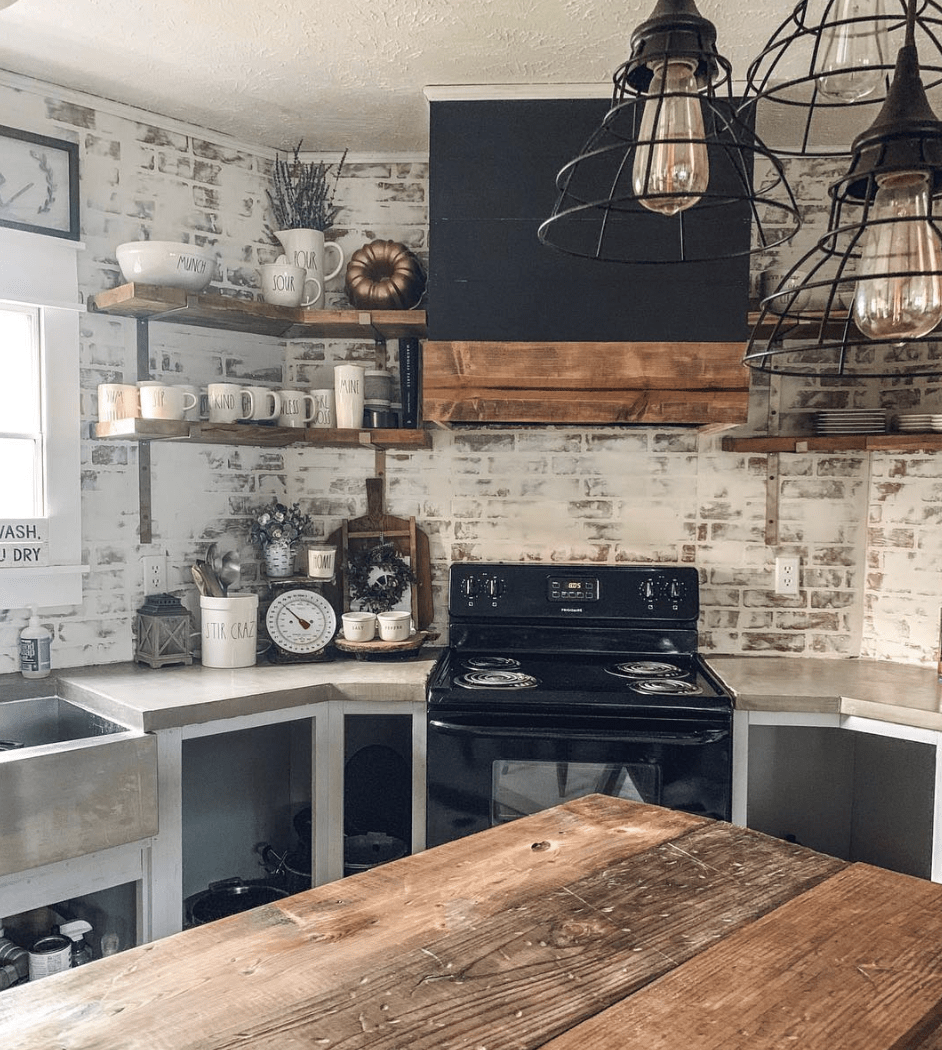
Ashley, from the popular Instagram account @ashleybeseda_ has achieved the same white-washed brick farmhouse style backsplash using 4×8 faux brick paneling from Home Depot and then spreading joint compound over it.
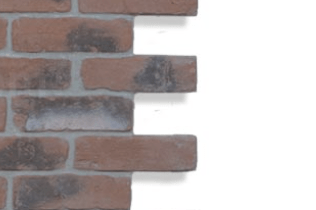
White-Washed Faux Brick Paneling
Buying wall art prints online isn’t the only way to add decor to your kitchen walls. The farmhouse-style backsplash that Ashley and her husband did in their Clayton double wide is fabulous. Fabulous, I tell ya!
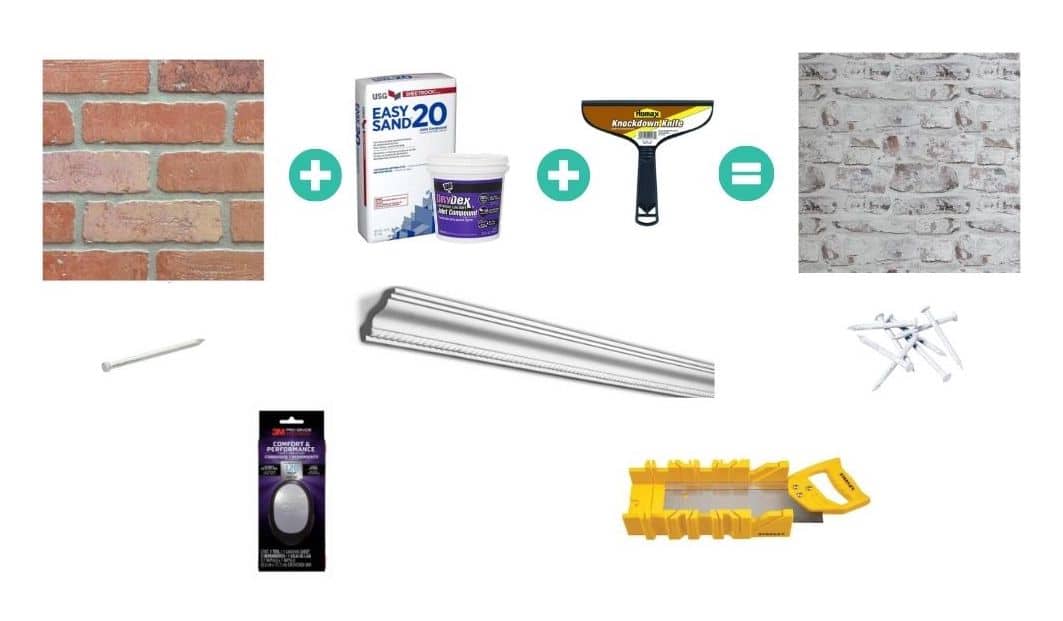
To get Ashley’s farmhouse backsplash you’ll need the following supplies:
- 48 in. x 96 in. HDF Kingston Brick Panel ($30 for 4×8 sheet)
- Hammer, Nail Gun, or Staple Gun
- 1 1/4” Brad Nails
- Circular Saw (a jig Saw or Sawz-All would work)
- Joint Compound
- Plastic Putty Knives
- Bristle Brush
- Moulding / Trim
- Trim Nails
- Sealant
Tips for Measuring and Positioning Paneling
Paneling comes in 4 foot by 8 foot sheets (or 48″ x 96″) so it should only take a couple of sheets to do an average backsplash.
You can have the panels cut to the exact size you need at Home Depot or Lowe’s (if you are doing a straight edge).
Pro-Tip: Staggered Cut
You can go with a staggered cut so there aren’t any half bricks but it isn’t necessary since the joint compound will hide the seams and the farmhouse style doesn’t demand perfection.
Pass on the Adhesive?
Technically, you are supposed to use adhesive when installing thin paneling over drywall, or in our case, vinyl-coated wallboards but I don’t recommend it. You may want to remove the panels in the future and the glue will rip the vinyl-coated paper off the gypsum wallboard.
Also, if you don’t want to use nails you could probably get away with using a staple gun. This would be especially useful if you don’t want to install the paneling permanently. Learn more about them here.
Know Where the Studs Are
The edge of the first panel needs to start directly on a stud. Fortunately, you won’t have to look too hard to find a stud if you have the vinyl-coated wallboard with battons. Every seam will indicate a stud. Measure off the home’s framing dimensions (usually 12″, 16″, or 24″) to find the next stud. Mark the locations with masking tape on the countertop or cabinet.
Get Squared Straight
You get it? Get squared straight? Ha!
When installing brick paneling over a mobile home’s wallboard, you’ll need to make sure the paneling is plumb and level. This can be difficult since many homes are not completely level or plumb themselves.
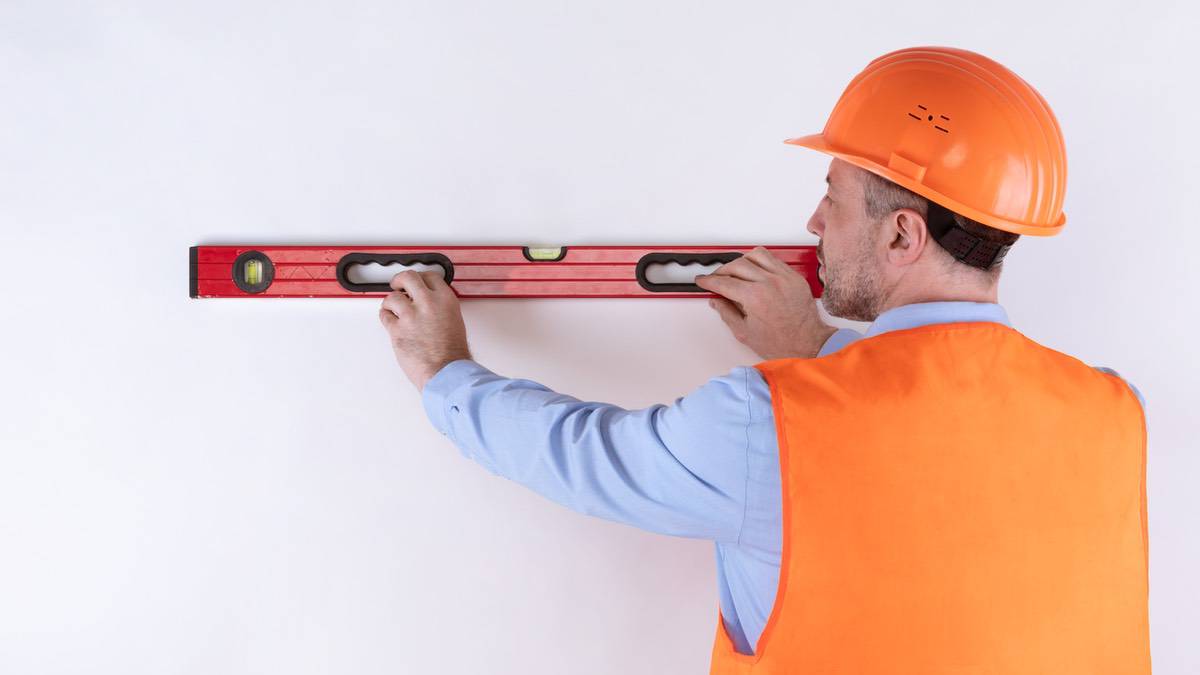
Being plumb means the vertical line is straight up and down.

Being level means the item perfectly is perfectly horizontal, from side to side.
But Not Too Squared
Using a level to find square is the usual method to get the panels perfectly straight but sometimes cabinets and countertops are far from square so that isn’t always the best way to go.
You could line-up the new paneling with the seam of the wallboard but you’ll still need to be careful that the brick isn’t crooked against the countertops.
You will need the vertical edge of the paneling to sit over a stud and match the home’s original wallboard seam while still lining up with the horizontal edge of the countertop and cabinetry. Sounds tough but it doesn’t have to be perfect. You can level the trim vertically while allowing the paneling to be plumb horizontally with the countertop.
Personally, I think it’s more important to ensure the brick is even with the countertops than be even on a vertical seam.
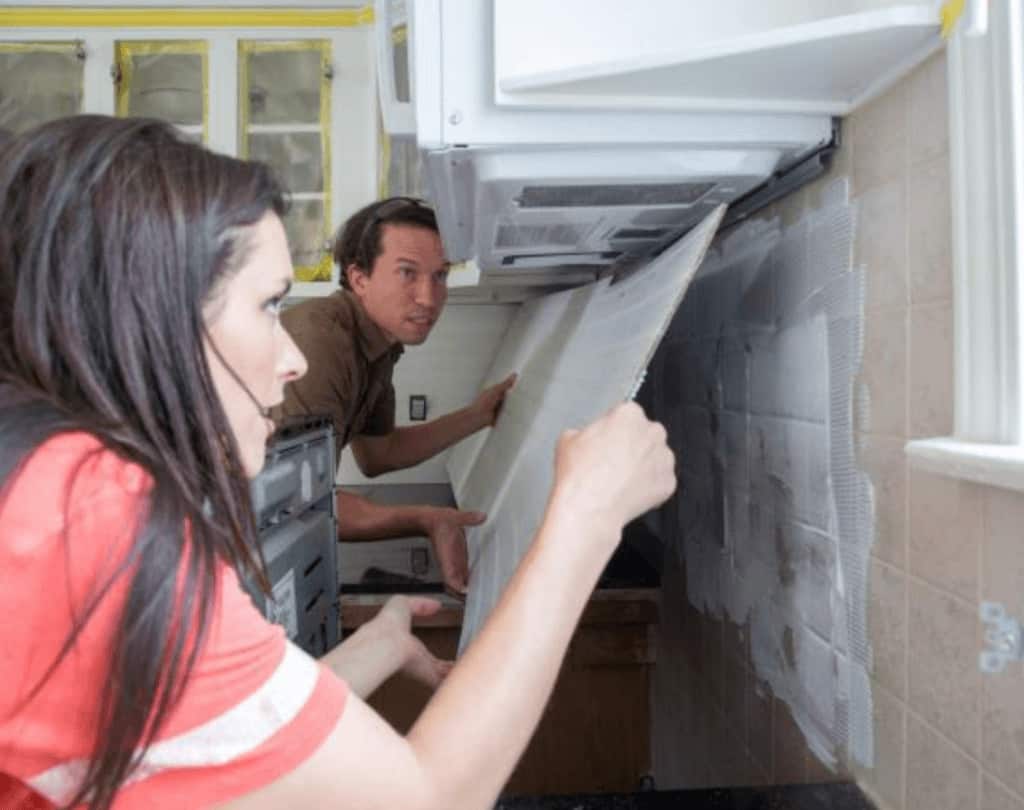
Nailing the Faux Brick Paneling
Once you’ve worked out the placement of the brick paneling it’s time to nail it. You’ll probably want to use 1 1/4” Brad Nails. These have small tops that won’t damage the panelling too much and will be long enough to go through the new brick paneling, the wallboard, and the stud.
Be sure to put nails every 6 inches or so along the edges where two panels meet since you aren’t using adhesive.
How to Use Joint Compound to Whitewash Faux Brick Paneling
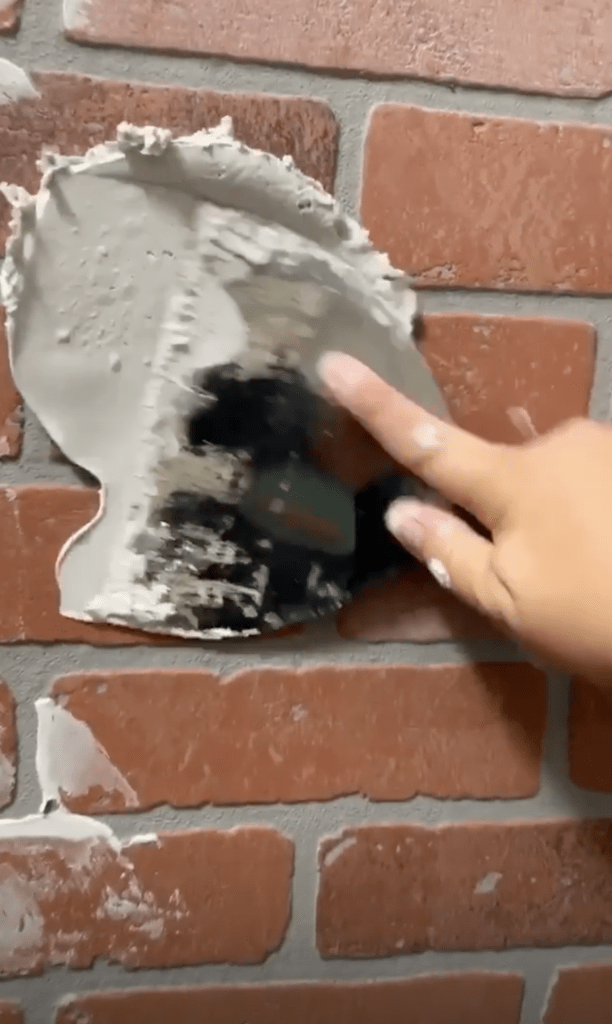
For that true farmhouse look, you will need to ‘whitewash’ the faux brick paneling but instead of using a paint and water mixture, we’re going to use joint compound. It’s a much easier method that gives you both texture and color in one step.
Spread and smear joint compound over the brick using a plastic putty knife or a knockdown knife. You don’t want to use metal as it may scrap the panelling that will turn the white joint compound pink.

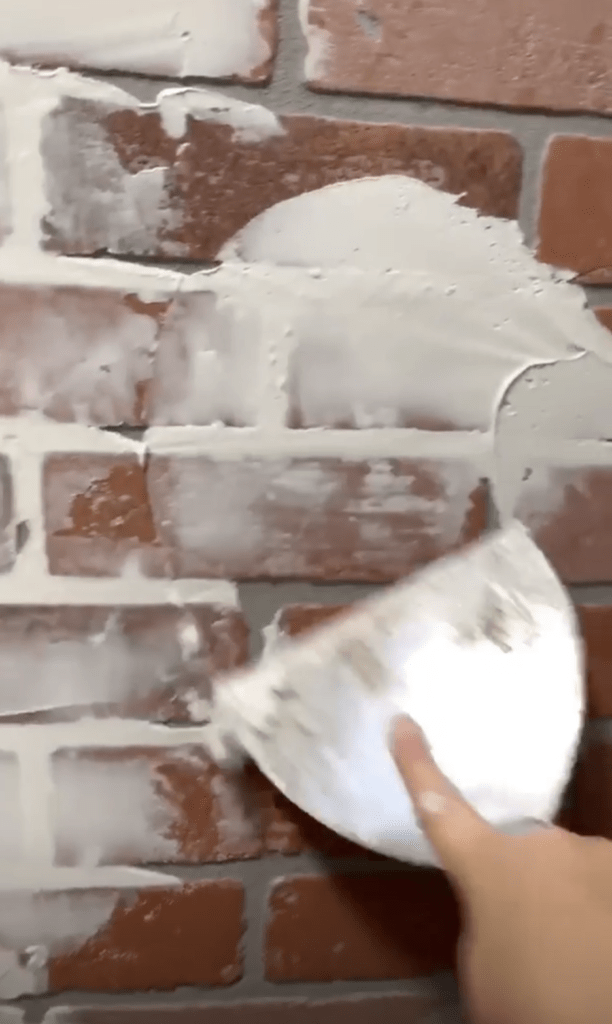
The amount of compound that you use over the paneling is up to you but you don’t want to get too thick or you’ll have a hard time keeping the walls clean. If you do want a lot of texture do a thin coat and let it dry, sand the thick areas down a bit, and then put the 2nd coat on. Repeat with more joint compound until you’re satisfied.
Once you are happy with the look you may want to use sandpaper to add texture and knock some of the thicker compound down.
Finally, use a bristle brush to sweep away the loose compound and dust particles before you seal the wall. It’s important to seal walls in bathrooms and kitchens because most joint compound is water-soluble even after it dries.
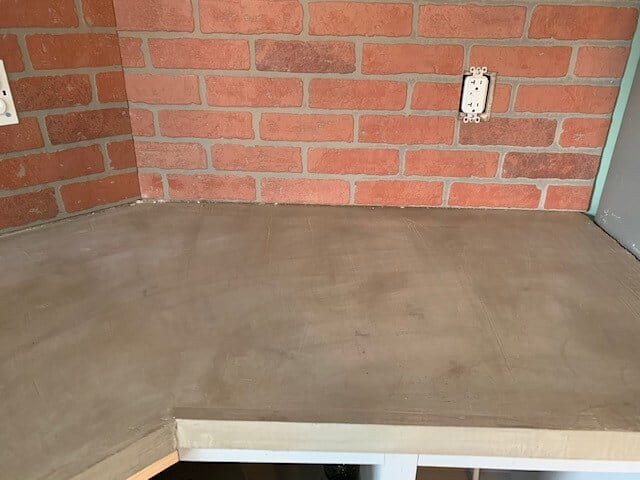
Before and After Installing Faux Brick Farmhouse Style Backsplash
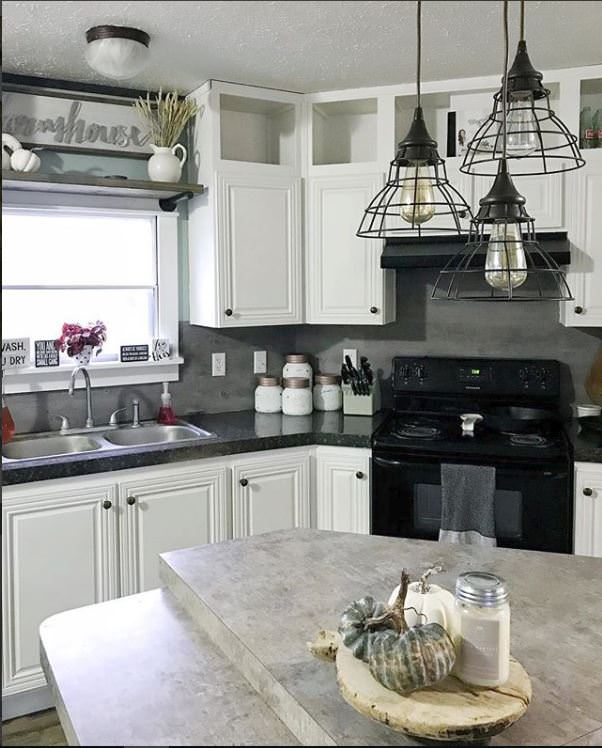
Ashley did a great job on her backsplash and I appreciate her letting me share her project. Her 2005 Clayton double wide is beyond gorgeous and you can see more of it here.
As always, thank you for reading Mobile Home Living®!
Any kind of porous sealer such as a product like ROMAN PRO-999.
My question also was what to seal it with?
Not sure what was used on this project, but you would not want to use polyurethane as it would turn the whitewash a yellow color. If I were doing this project I would use Polycrylic which would leave it a nice white color!
What type of sealant did you use?
Looks fantastic!