A bathroom remodel is a top request for homeowners regardless of what type of home they live in. Whether the home is site-built, manufactured, or an apartment, a small water leak in the bathroom can quickly turn into a nightmare.
If a bathroom remodel is in your future, this is a great article for you! This is a real life bathroom remodeling project, from start to finish, that can help you better understand what a complete bathroom remodel can entail.
Knowledge is Power
Understanding the process of a complete bathroom remodel can help homeowners on both sides of the coin- those confident enough to attempt a DIY remodel and those that feel more comfortable hiring a professional. Either way, understanding the process of a complete bathroom remodel can help you make better decisions and save money.
Bathroom Before Remodel
This bathroom remodel, found on Imgur with images uploaded by homeowner MrGBird, was needed because of extensive water damage. Over the years, the walls began bowing due to moisture. The only option was to completely gut the bathroom and replace all the damaged material.
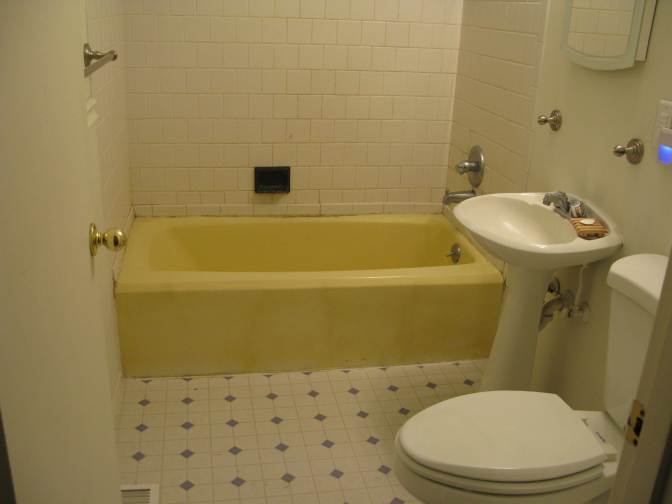
Here, you can see that the grout had cracked, allowing moisture to seep behind the walls. Mold soon set into the cracks.

Gutting the Bathroom
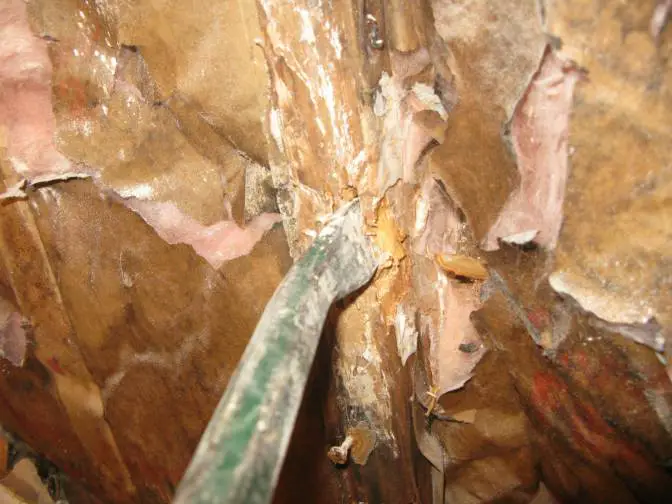
Below, the homeowner has removed the tile, wall, and tub. You can better see the significant damage, even on the exterior wall of the home that 10 years of water seepage have caused.


The studs behind the shower wall became so wet that the wood was completely dry-rotted. The homeowner uses a crowbar to show how soft the wood is.
Unwanted Tenants
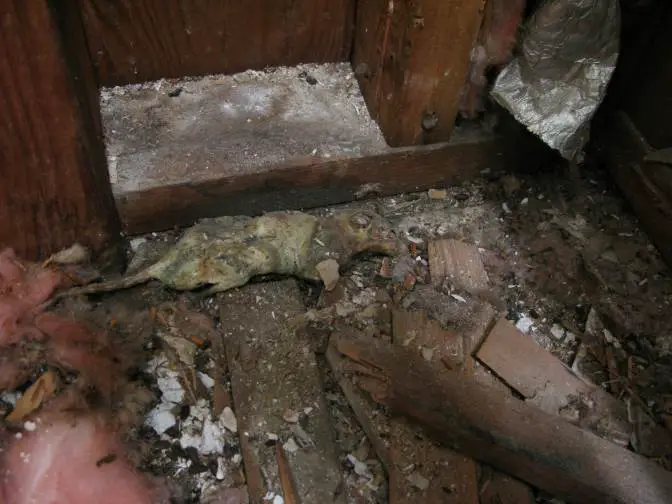
When you start tearing out walls and flooring, you’re probably going to find a few things you wish you didn’t, like this decomposed critter. It’s all part of the project and practically every home with a little age on it will have a secret tenant or 10.
Exterior Wall Damage
Once all the wood is removed the homeowner was left with a gaping hole. Tearing down is the easy part – now comes the difficult part!

Rebuilding the Bathroom
With all the damaged wood removed the owner began installing new studs and exterior plywood, or sheathing as some call it.

Insulation is installed between the studs and the tub is installed.
Insulation should never be compressed or compacted into a space. The thickness and width of the insulation are calculated carefully to provide the highest R-value rating possible.

Cement board is installed over the insulation on all three sides of the tub.

To get a proper waterproofing you’ll need to use a couple of different products in the correct order. This mortar base coat is laid over the cement board and allowed to dry.

Next, a Red Guard elastomeric membrane is added over the mortar base to create yet another layer of waterproofing. Tile is installed later.
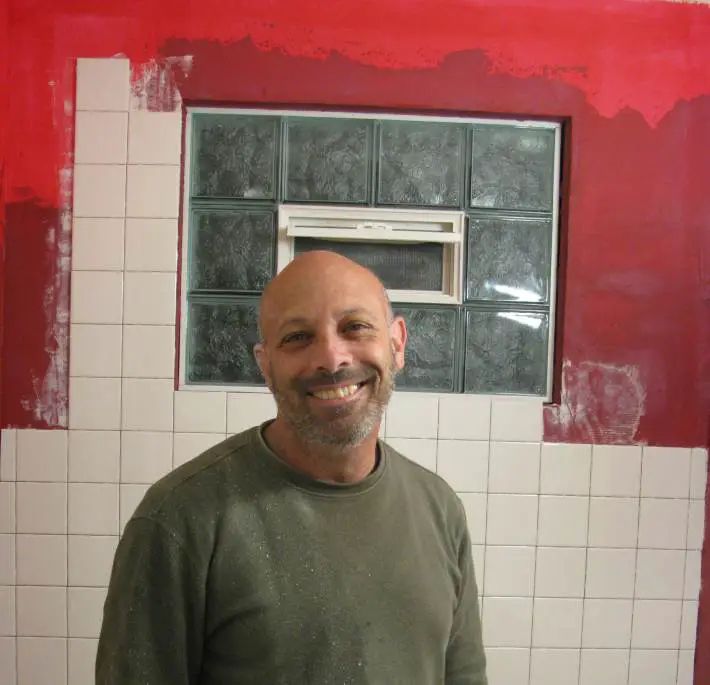
The owner used glass blocks to create a window that has privacy while still allowing light to shine through. He also installed a small transom window in the middle for air flow and ventilation.
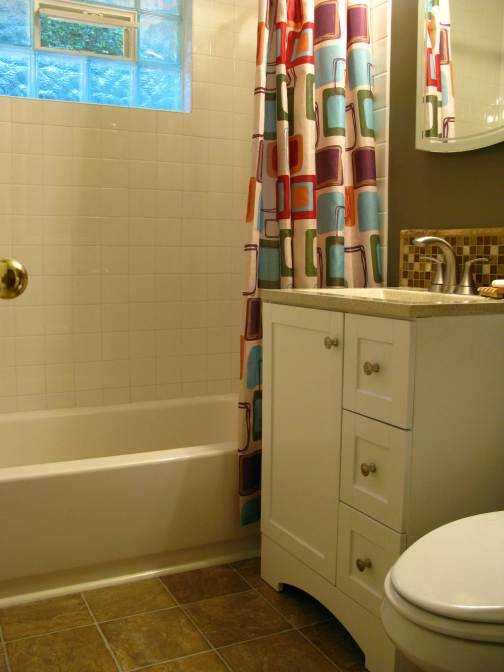
The Finished Bathroom
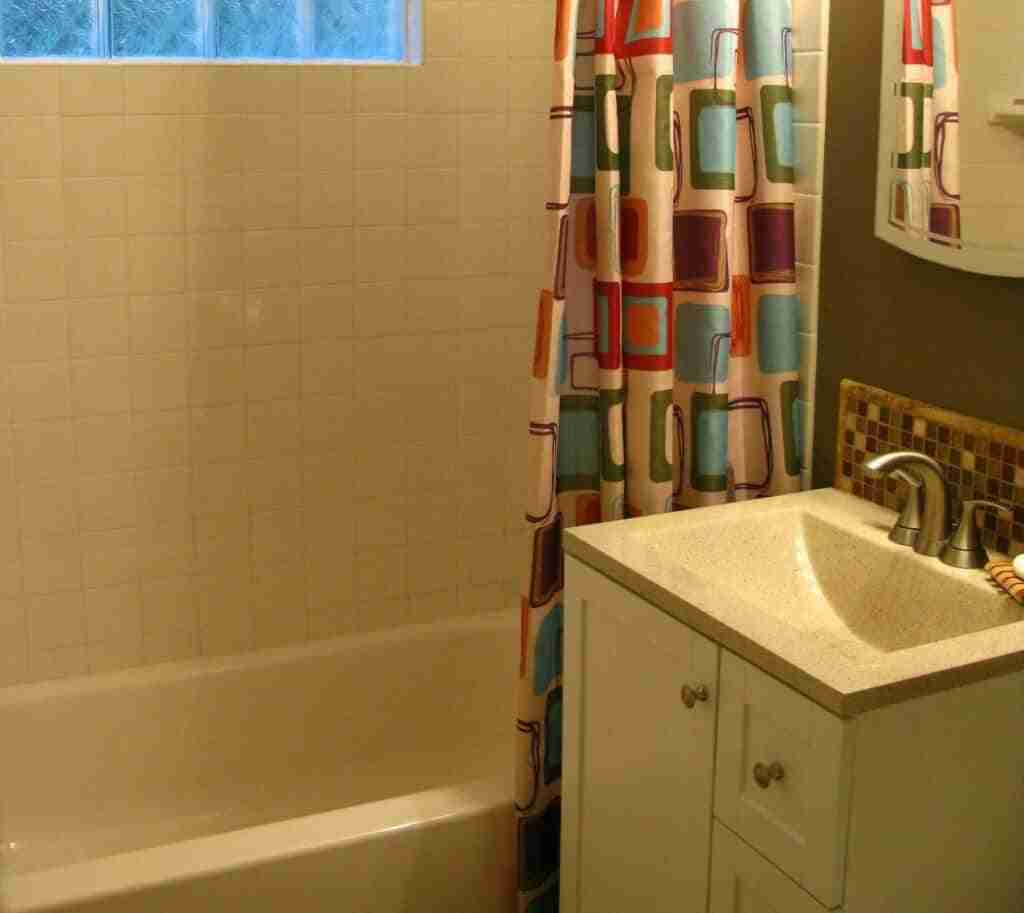
The finished product! This bathroom remodel will last the homeowner for many years.

While this home isn’t a manufactured home it is a great example of a standard gut and rebuild bathroom remodel.
Click here to see a minor bathroom remodel in a manufactured home.
Click here to learn more about mobile and manufactured home plumbing.
Related: My Mobile Home Makeover has a great article about their bathroom makeover here.
Thank you for reading Mobile Home Living!
