

Having a unique backsplash is a relatively new concept in kitchen design. A few decades ago, the kitchen backsplash wasn’t as important as it seems to be nowadays. I’ve seen TV shows where a homebuyer refused to buy a home because it didn’t have the backsplash she wanted. That homebuyers probably didn’t realize how easy it can be to install an affordable DIY backsplash in any home.
A kitchen backsplash isn’t just about style – it also protects the wall around your stovetop and food prep. The style and color is just an added bonus.
Installing a new backsplash in your kitchen instantly updates the room and there’s a style for every budget and taste. However, if you’re broke like me, you can’t afford to even look at the fancy tile options at your local home improvement store. You may, however, have some acrylic craft paint, a paintbrush, and a few extra dollars for a can of sealant. That’s about all you’d need for this faux tile backsplash project.
Popular Backsplash Styles
Today’s most popular backsplashes are made of subway tile with 6″ long and 3″wide white rectangle tile.
The second most popular backsplash style is a mosaic tile. Mosaic tiles are usually purchased by the sheet that measures 1 foot long by 1 foot wide with a net-like webbing on the back that holds the tiles together. They aren’t cheap but they are beautiful and adds an undeniable style to any kitchen.
Tile backsplashes can be pricey
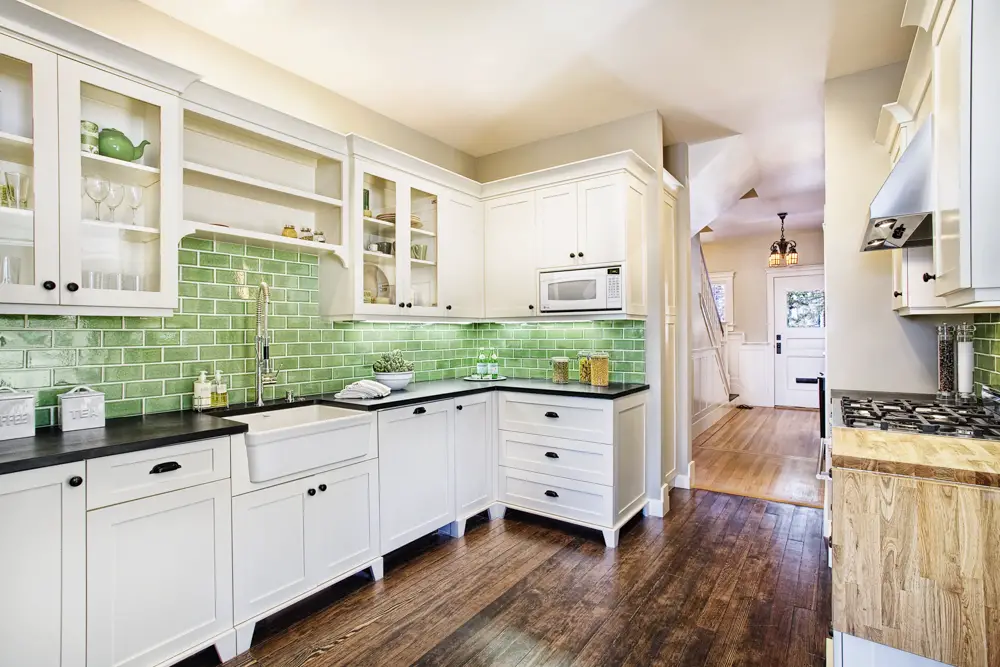
Unfortunately, mosaic tiles can be quite pricey but you can get a similar look for less than $50 in materials with this creative and affordable DIY backsplash project.
Related: Cheap Backsplash Ideas: Painting Tileboard
Unfortunately, one of the biggest downsides of a tiled backsplash is cost. If you want the latest, trendy style with colorful mosaic tiles you’re gonna be paying quite a bit for it. Even if you install the tile yourself you will still spend anywhere from $5 to $100 per square foot for the material alone. That’s a lot of money for a relatively small space!
Create your own stylish backsplash with paint
One creative homeowner shared her painted DIY backsplash project on Imgur. She figured out how to have the tiled backsplash look without the extravagant price and you can do the same thing in your home with this step-by-step tutorial.

Affordable DIY Backsplash Paint Project Adds Style to Any Kitchen
You can have a colorful, trendy backsplash without the high price by using acrylic paint and sealant over your manufactured home vinyl coated walls or sheetrock.
Before you begin your DIY backsplash project find photos of your favorite mosaic tile backsplashes online. This will help you narrow your options and give you an idea of the colors, materials, and style you want to use in your own affordable DIY backsplash project.
Speaking of design and style,
The design used for the tile placement is an important element in this project (or any home renovation project). There are many different patterns used when tiling. I’ve added an image below that shows a few popular tile patterns. A simple pattern is probably best for this affordable DIY backsplash project since you will be using tape and paint to achieve the look.
Popular tile patterns used in modern kitchen design:

How-to create your own affordable DIY backsplash (a step-by-step tutorial with images)
Use paint and painter’s tape to create a tiled backsplash look in your kitchen – a tutorial.
Step 1: Clean the area where you want your new backsplash with a fairly strong cleaning agent.
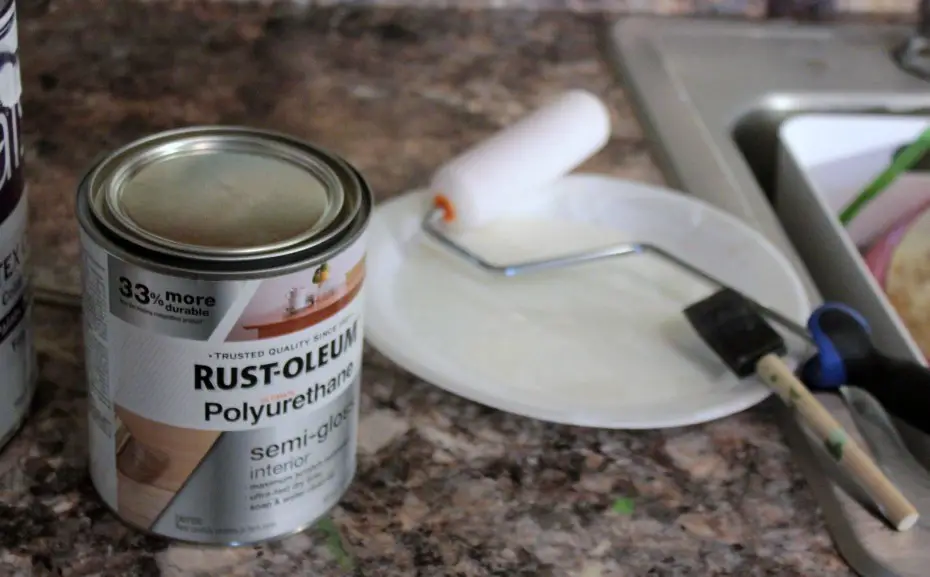
You’ll need the paint to bond tightly to the walls, regardless of what they are made of, so a standard cleansing agent should work fine. Older manufactured homes will probably have VOG panels (vinyl over gypsum) and it’s perfectly OK to paint over them as long as you clean them well and use the right kind of primer to create a strong bond.
Step 2: Tape the area off and apply primer tinted the color you want to use for grout.
Once you’ve cleaned the area well and allowed it to dry, you will then tape off the area where you want your backsplash and apply primer.
You can use a plain primer or a paint+primer in one. Plain white primer makes for a great background and is what the homeowner in the photos used (it turns out great) but you can add a tint if you want. Refer to your favorite mosaic tile backsplash photos to see which grout color looks best for your chosen color scheme.
Step 3: Tape off your tile pattern.
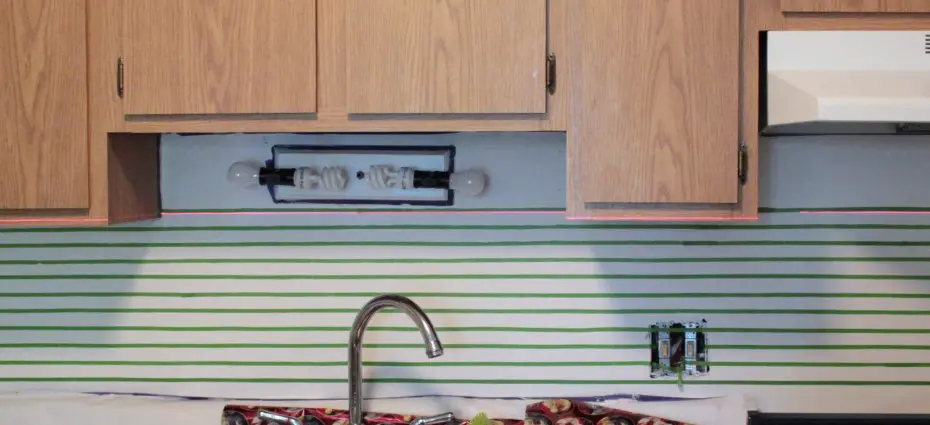
This is one of the most time-consuming steps but it is important to take your time and get the lines straight and the pattern uniform. Using a high-tech laser level is recommended.
You should be able to rent one from a local tool supplier if you don’t want to buy or borrow one. You can also use the old-fashioned bubble levels but that will add a new layer of difficulty and create a lot more work.
Step 4: Insert vertical lines to create the pattern you want on your affordable DIY backsplash
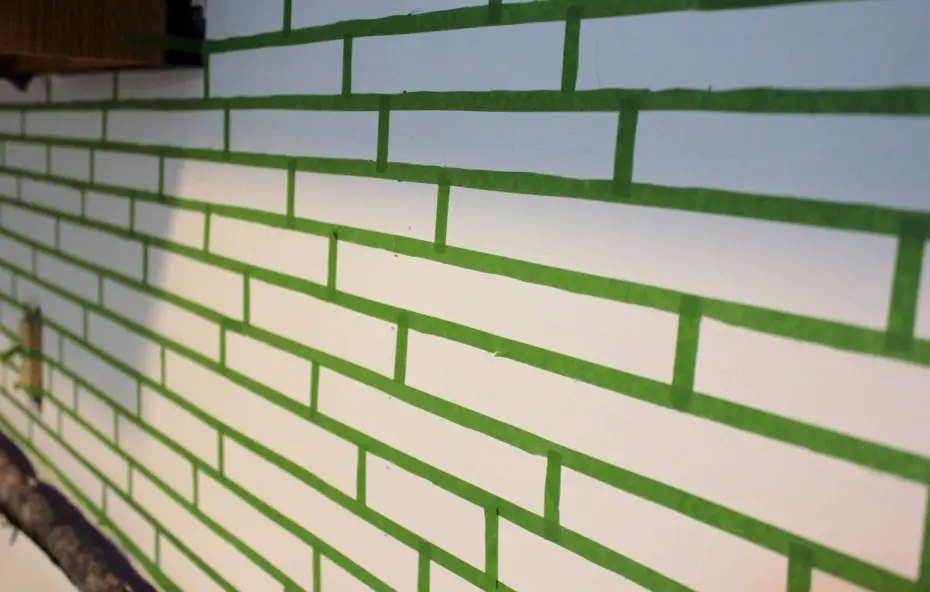
Once you have your horizontal lines completely taped-off you will need to do the vertical lines. If the basic brick or stretcher bond pattern will be used you can randomly place the vertical lines by sight, unless you want everything equally spaced.
The creative homeowner simply placed her vertical lines randomly and the finished look is great. The homeowner suggested you paint over the tape with your primer to help the tape bond a bit better to the wall and create a tighter paint line for the tile. If you’re using acrylic chalk paint or a paint with primer you won’t need to worry about that.
Step 5: Painting the tiles
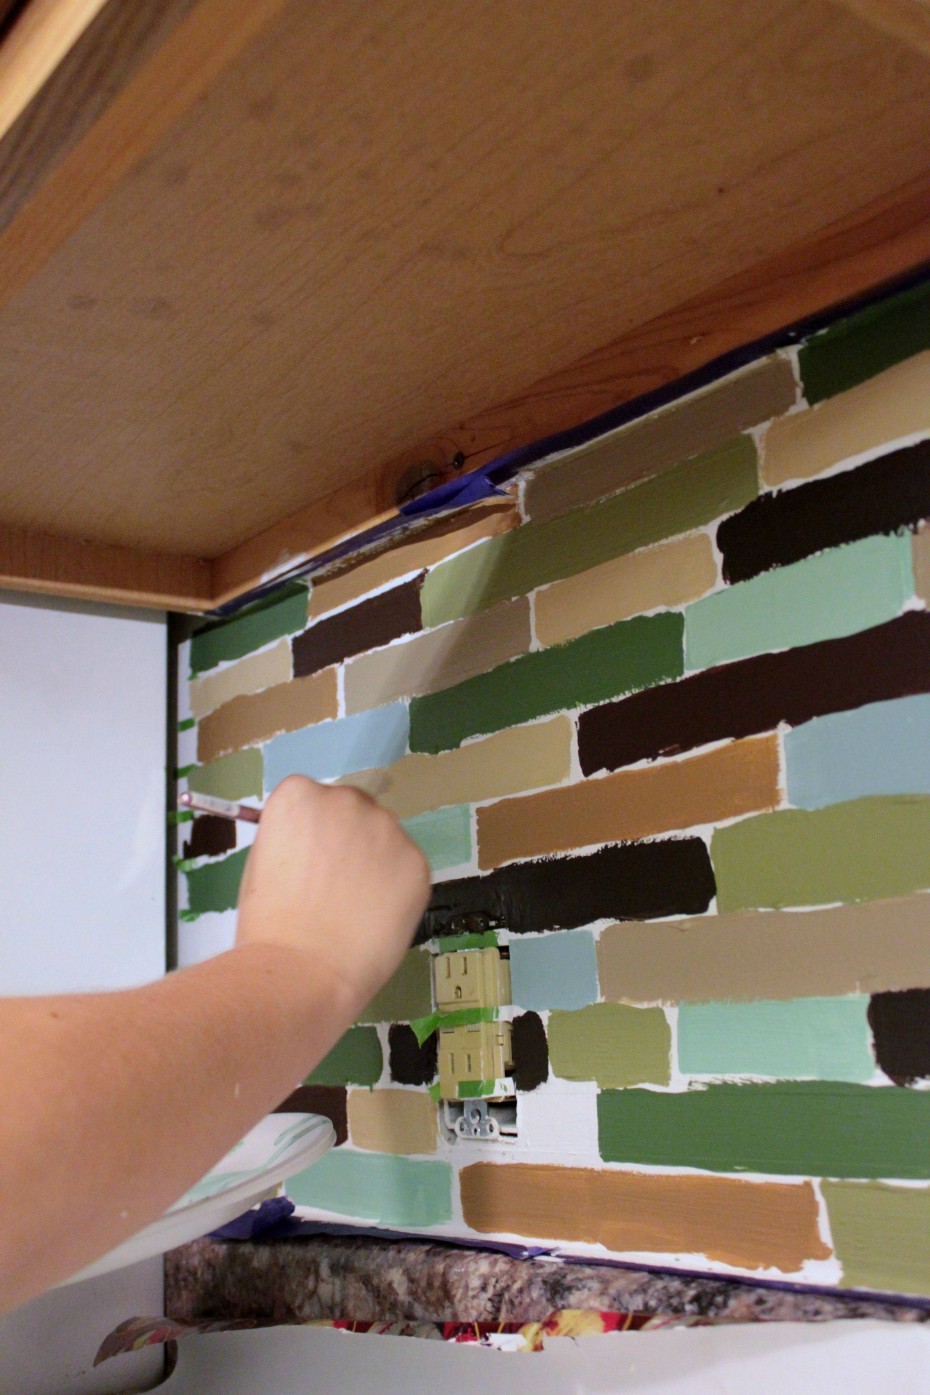
A practice run on paper with crayons or using an app on your smartphone can guide your color choices. Refer to the reference images you liked when you searched for inspiration (as suggested above).
A quality paint should only require 2 or 3 coats to get the coverage you need.
Step 6: Remove the tape before the paint dries.

The homeowner recommends you remove the tape before the last coat of paint dries. This helps create a clean, straight line and keeps the tape from bonding too tightly to the wall. Tip: Check for your tape brand’s recommendation too.
Step 7: Apply sealant (after the paint is completely dry)

A sealant is important so that the paint stays put and the wall is easy to clean. You’ll need to research this based on your paint brand and type of wall surface you have. This homeowner used a standard polyurethane sealant over her craft paint.
Estimated Cost: 100.00 USD
Supply:
- Cleaning agent and rags to clean the walls (this is more important than most realize – you need a strong bond so the paint won't peel, especially if your home has vinyl walls).
- High-quality painters tape. You'll probably want to use the 1/4 (.25) inch tape to tape the tile although a roll of the thicker 1/2 inch tape is handy to have as well. Don't skimp on quality!
- Acrylic craft paint in the color scheme and sheen of your choice. The creative homeowner in the photos used earth tones and it looks great!
- Paint brushes or small foam rollers and paint trays for them.
- Sealant. Polyurethane works well for most needs but make sure to research so you get the right type for your walls.
Tools:
- A Laser level is highly recommended but a bubble level would work.
Learn more about painting mobile and manufactured home walls here.
Conclusion
This affordable DIY backsplash project is perfect for those that want a unique backsplash without the expense and hassle of tiling. Believe it or not, tiling a backsplash is much more complicated than most think. You simply can’t just throw tile up on the wall!
By painting the backsplash onto your wall you can get the same look with only half the prep and a quarter of the cost and that’s assuming you have to buy new primer and paint. This is a great way to update your kitchen.
As always, thank you for reading Mobile Home Living!
Hi Crystal! Thanks for this inventive idea! I did a “portable” backsplash with mosaic tiles in a wooden frame and attached it to the wall over the sink. A mini DIY project that is versatile and easy to change out – but will keep this idea in mind for future reference.
I finally got around to trying the painted floor idea too! I’ll be doing a post on that soon.
Thanks for all your great ideas here!! :)
Hi Jeni! It’s so great to hear from you! Hope you’re doing well!
I need to hope over and visit your blog and see that gorgeous home of yours again – it’s been a good while and I apologize for that. I’m getting lazy these days!