
Ceiling Fan Face Lift: A Big Impact on a Small Budget
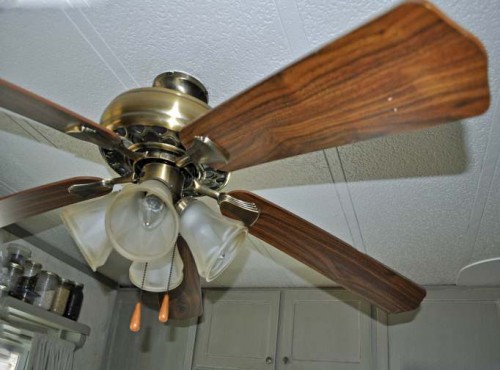
I painted my mobile home’s kitchen cabinets and backsplash last year. However, the look of the ceiling fan after the kitchen makeover was bugging me. Those dark brown, fake wood blades just didn’t fit in.
As seniors on a fixed income, hubby and I have to decide where we spend our remodeling budget wisely. I don’t mind admitting that I can be a cheapskate if I think I can make an inexpensive cosmetic ‘fix’. Here’s how I gave my ceiling fan a facelift on a budget:
Give Your Ceiling Fan a Face Lift
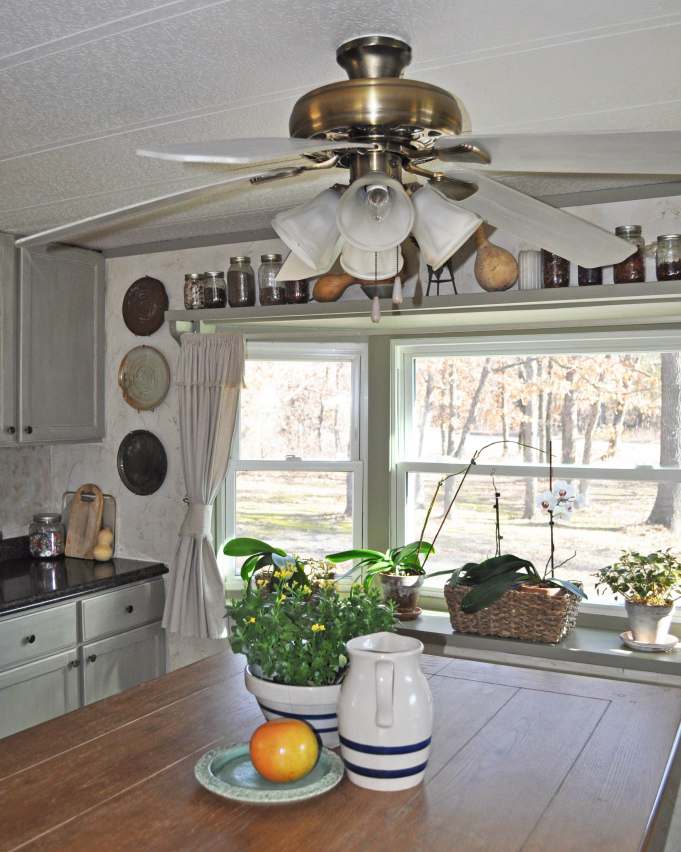
The ceiling fan is in perfectly good shape; It works well and I like having it. I just don’t like the way it looks and that’s why I decided to paint the blades to match the kitchen cabinets.
This was a pretty easy project. It was affordable because I had all the paint supplies left over from the kitchen cabinet makeover.
Removing the Blades from the Fan
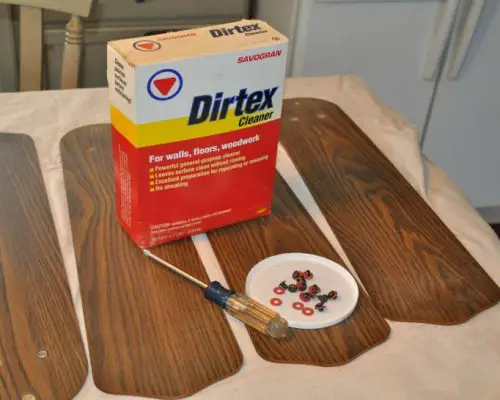
The first step was to unscrew and remove the blades from the fan and give them a good cleaning. But, wouldn’t you know it! One of the screws on one of the blades was stripped and I couldn’t get it off. Plan B: that blade had to be painted in situ with the hardware covered in masking tape.
Fortunately, I was able to paint the rest of the blades on my kitchen table.
Clean the Fan Blades
Once the blades were removed from the fan I cleaned them with a product called Dirtex. I love this product for prepping before painting. It does a great job of removing years of dirt and grime.
Priming the Blades
The blades were made of some sort of pressed paper/cardboard product with a shiny finish. I used a super adhering primer that I had used on the kitchen cabinets.
There are numerous brands but I used Zinzeer 123 and have been happy with the results.
Whatever brand you use, I would suggest always using a “Super-Adhering” type, particularly when painting cabinets or any shiny or laminated surface. I used two coats of primer.

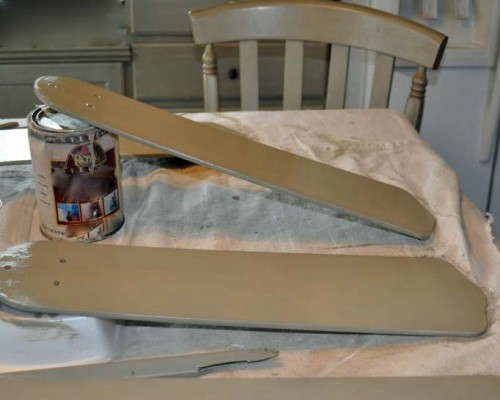
Painting the Blades
Next, two coats of the same latex paint in a satin finish that I’d used on my cabinets. When I chose the color, I tried to match the color of my kitchen table/island (you can see one of the chairs and a few cabinets in the background). The color is Valspar’s “ Churchill Downs”.

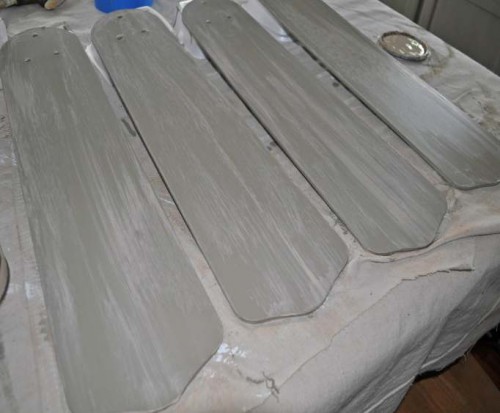
Glazing the Blades
The last step was to apply a glaze. I’d used a glaze on the cabinets so I had leftover glaze already mixed with the pigment I’d used on the cabinets (I told you I can be a cheapskate, waste not -want not).
There are a number of glaze products on the market. Being from a very small town, I used what was available at my local hardware store and I’ve been very happy with it. It’s called Ace Royal “Artistic Finishes” for faux painting. This clear glaze was mixed with Ace’s Royal Latex paint, the color is “Stagecoach”.
I applied the glaze with an old brush that had a lot of spacing between the bristles, let the glaze sit on the surface for 30-60 seconds, then gently wiped with a wet cloth.
Enjoy Your New Ceiling Fan
Once the blades were dry, I re-attached them and was finished. That wasn’t hard to do at all!
I’m pretty happy with the outcome. The dark brown blades of the fan no longer catch the eye and hold it there. The look is more cohesive and the fan now looks like it belongs in the room; no longer a big brown eyesore.
Cost of this project: Minimal.
Thank you so much for reading Mobile and Manufactured Home Living!
Read about Pam’s experience with a Federal Pacific Electric Panel. You may have one of them in your mobile home and the information she shares could save you and your home.

You both seem to be doing an awesome job, your kitchen is gorgeous! I ran into the same problem in my 2 bed, 2 bath mobile home. Trailers have a tendency to be dark and dreary so I’ve lightened up my entire home with paint and flooring, but I have a ceiling fan in the living room that fits this description. Buying a new one is out the question so I’ll HAVE to try this! Thanks for the idea!
Hi Vanessa, I’m glad you liked the article. You know, I stared at that ceiling fan for a year, thinking, “I really hate those brown blades”. It was a ‘why didn’t I think of this before moment’….’just paint the darn things’! It was easy, and made a big difference. Just BE SURE to use a high quality super adhering or bonding primer. AND give the blades a good cleaning or your paint won’t stick. Look on Pinterest under ceiling fans, and that will give you a lot of inspiration. Good luck, and above all…enjoy. Pam