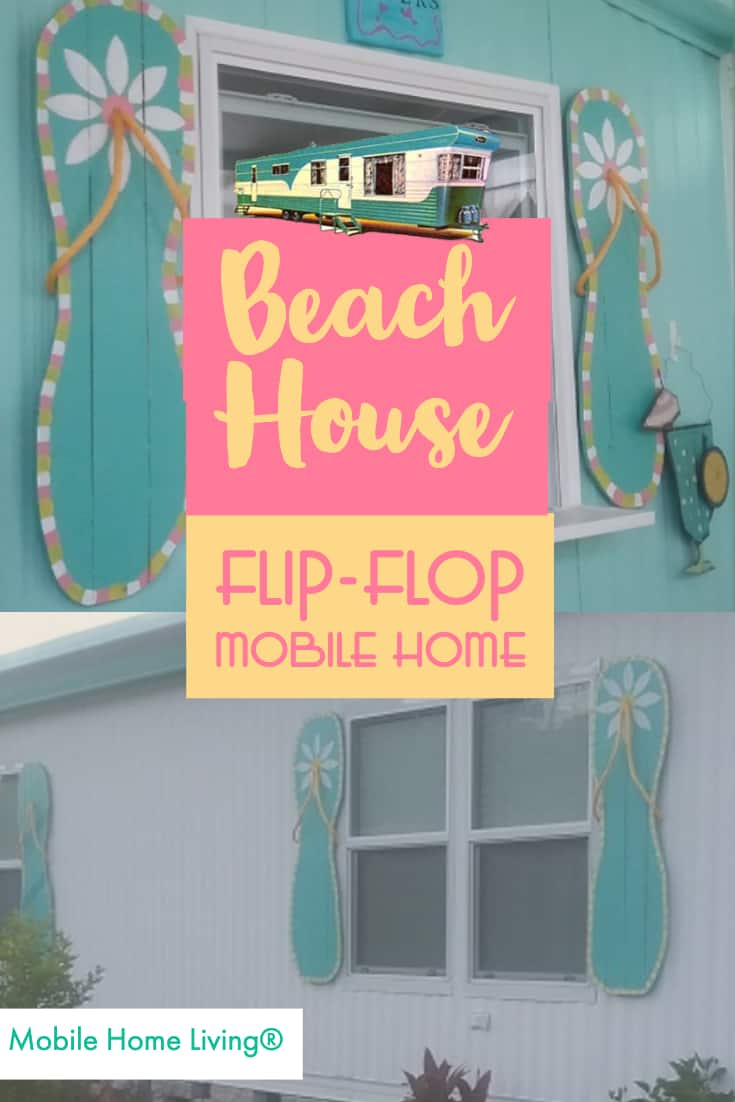
Life really is better in flip flops! Meet Ellen and Alex Birdwell and their colorful coastal mobile home. The newly retired couple turned a 1981 Nobility double wide into the ultimate beach house by adding color and whimsy over a foundation of classic coastal design. It’s a unique and fun home that is a perfect representation of the fun-loving creative couple. Oh, did I mention the flip flop shutters?
This Ocala, Florida mobile home’s most notable feature is the flip flop shutters but the interior is just as cool. In short, this is one beachin’ mobile home!
The Birdwells retired from lifelong careers in sales and management and dreamed of retiring closer to the beach but they didn’t want another traditional home. They had lived in a large historic home on the Mississippi Gulf Coast. They wanted a much smaller home that could give them the financial freedom to truly enjoy their retirement and the artistic freedom to create a home that was fun and whimsical. This 1981 double wide gave them both.
Downsizing into this affordable double wide for their retirement gave the couple a perfect opportunity to let their creativity shine. They gutted the entire house room by room. When the dust settled, they had a colorful coastal mobile home that is the envy of the neighborhood.
Creating a Colorful Coastal Mobile Home Room by Room
Ellen and Alex replaced all the paneling and ceiling with drywall, installed new plumbing and electrical (including lighting fixtures), and replaced every inch of flooring.
See another cool beach themed mobile home transformation here.
Ellen is an artist and crafter and Alex is a musician which explains why their home is full of creativity, color, and whimsy. However, the home certainly wasn’t like that when they first bought it.
Living Room Makeover
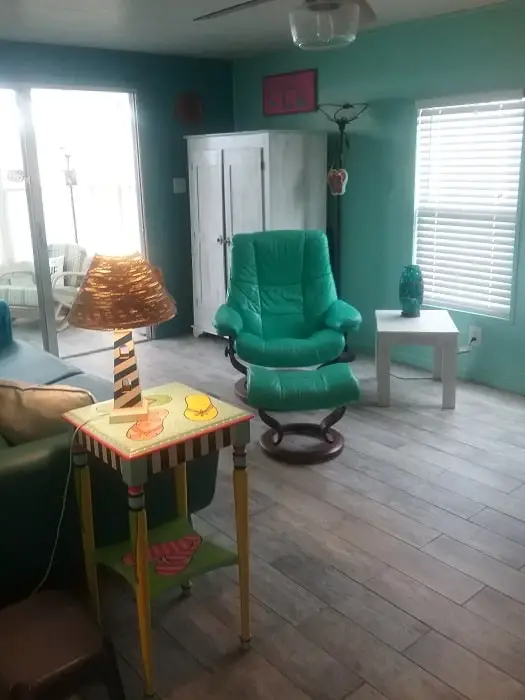
Weathered gray wood is a beach house staple so naturally, Ellen and Alex used it in the living room for both the flooring and an accent wall.
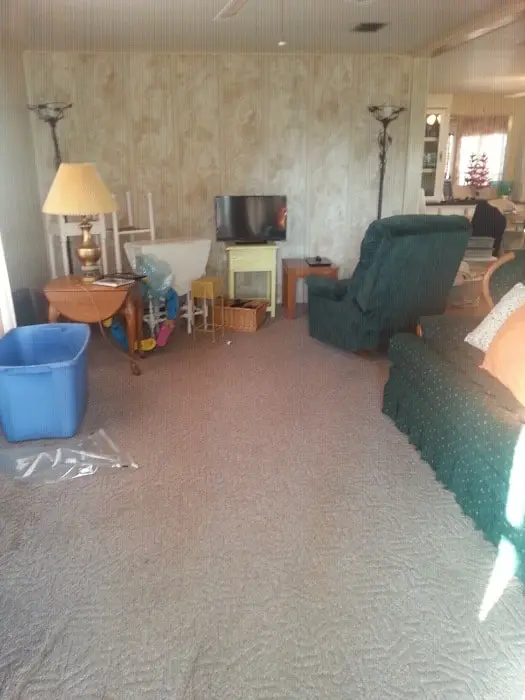
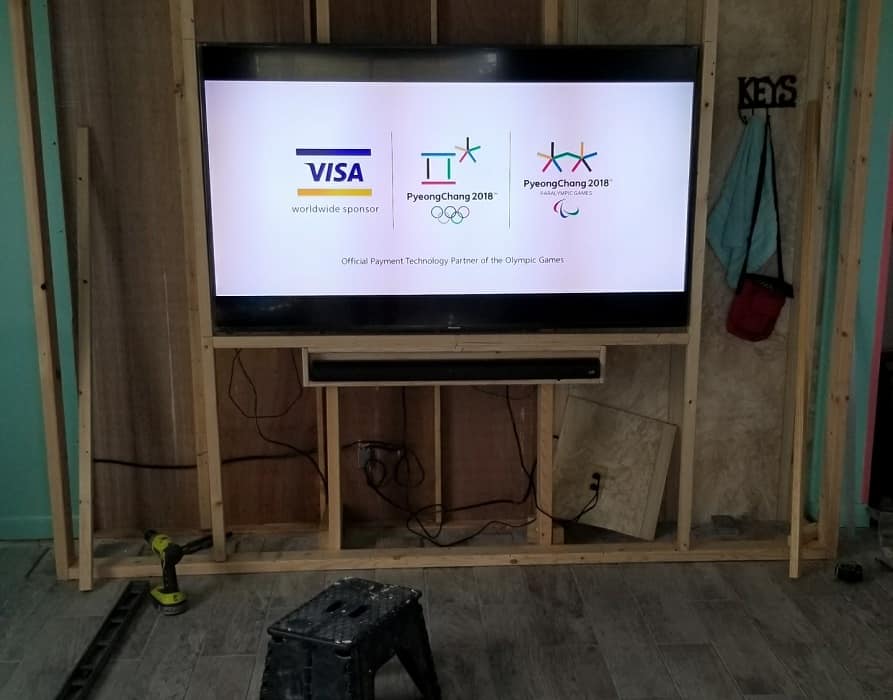
The left photo shows the home before the colorful coastal mobile home makeover. On the right, you can see how the large TV was installed on the living room wall.
The couple installed 6” x 24” Porcelain floor tiles from Marazzi Montagna in Doppel Gray available at Home Depot.
They also installed a reclaimed wood wall plank kit from GPS Design Innovations found at Lowes. After the wall covering was installed Ellen dry brushed it with white and gray paint to give it a more weathered gray color.
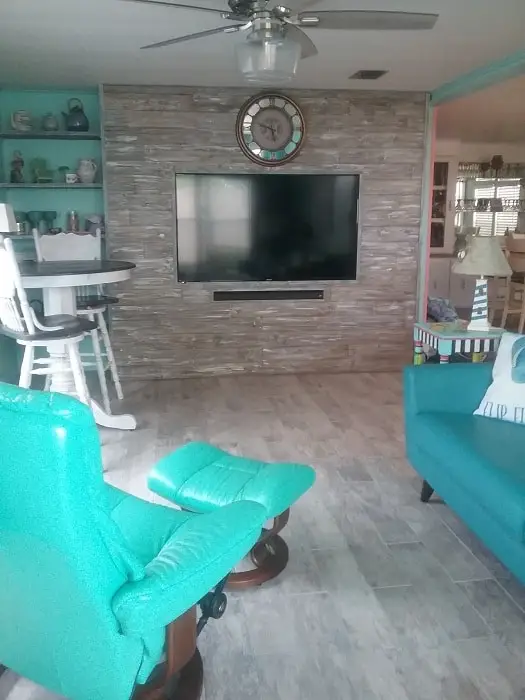
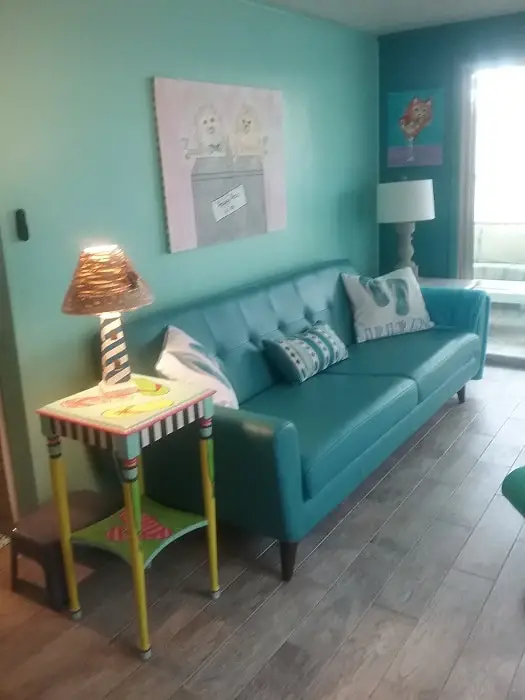
A sea of blues in the living room.
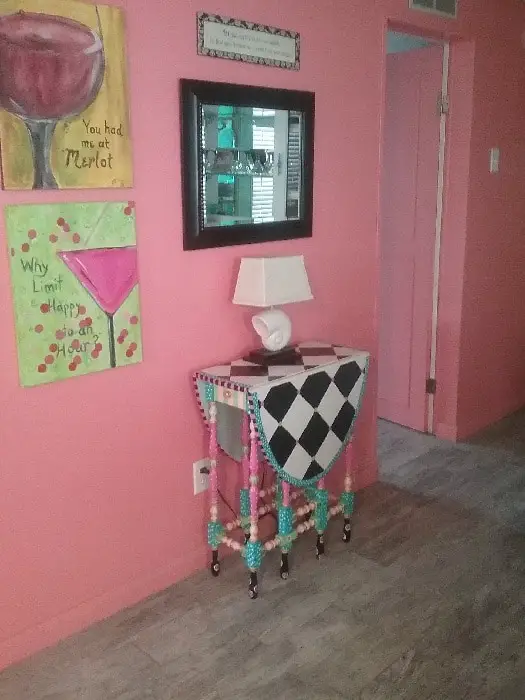
Flamingo pink wall in the hallway adds a ton of personality to an otherwise boring space.
Our Best Tips to Remodel a Mobile Home on a Budget
The Kitchen
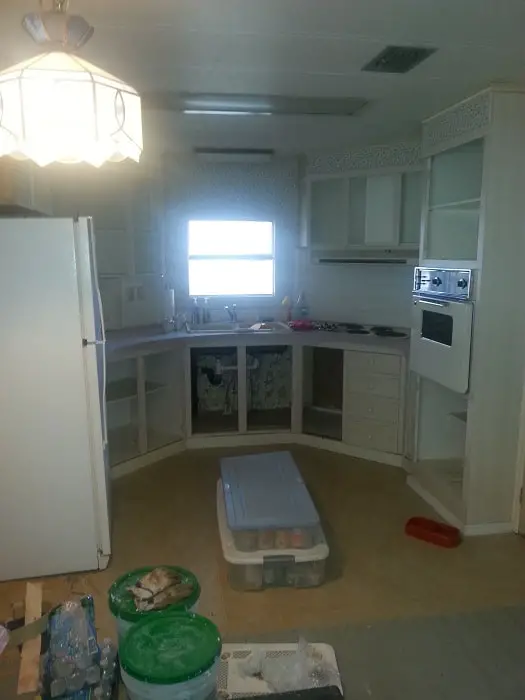
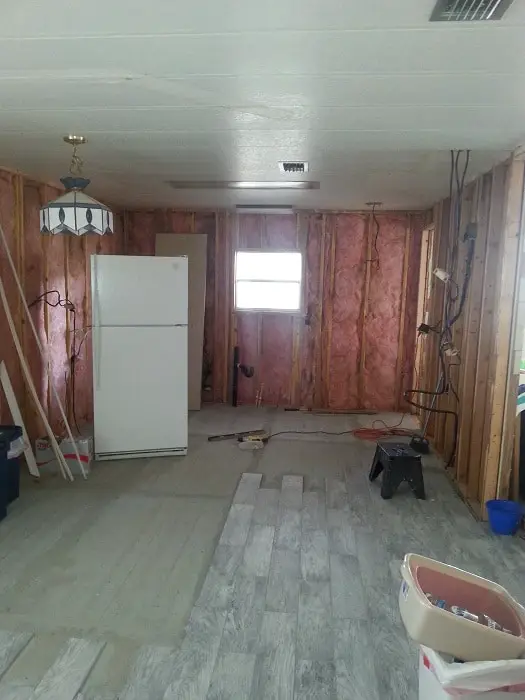
The kitchen in the 1981 double wide was completely gutted down to the studs. The left image shows the iconic curved counters that was so popular in the 1970s and early 80s. On the right you can see how the couple took advantage of the remodel and added insulation to the sidewalls.
The Birdwells did everything themselves during their whole mobile home remodel except two things: the countertops and the heat pump. The counters are custom quartz from Central Florida Kitchen and Bath.
The new kitchen isn’t huge but it is laid out very well and has plenty of space for the couple’s gourmet creations. The pantry is definitely a useful addition.
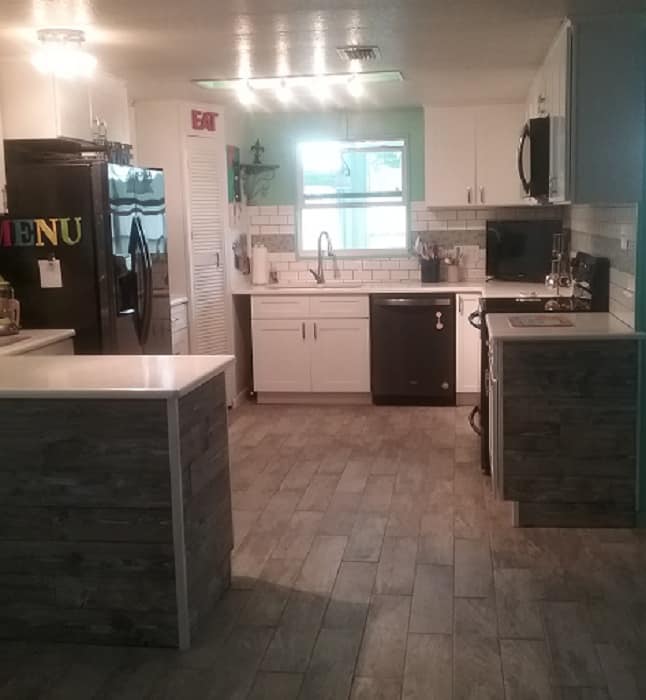
The cabinets were bought at Lily Ann Cabinets in Clearwater, FL. They delivered the cabinets assembled and Alex and a friend installed them.
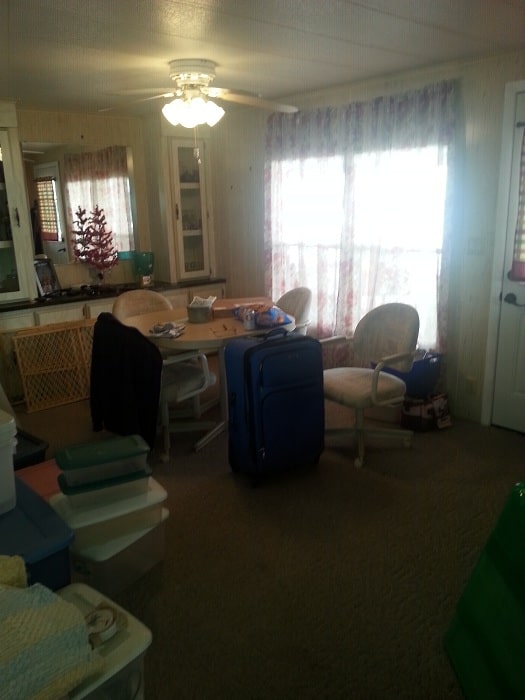
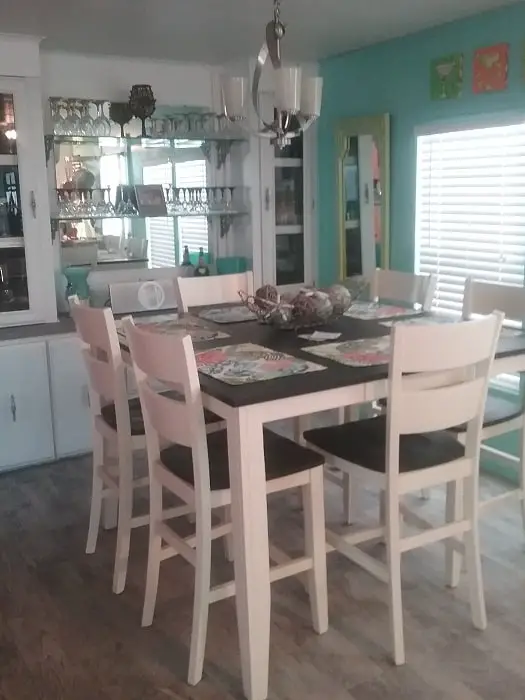
The dining room before and after:

Before the colorful coastal mobile home remodel 
After the remodel
Relate: Beach Theme Decor Ideas For Your Mobile Home
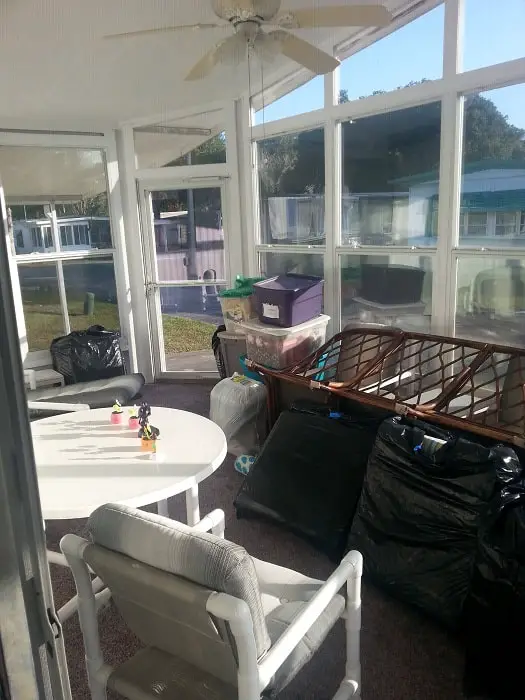
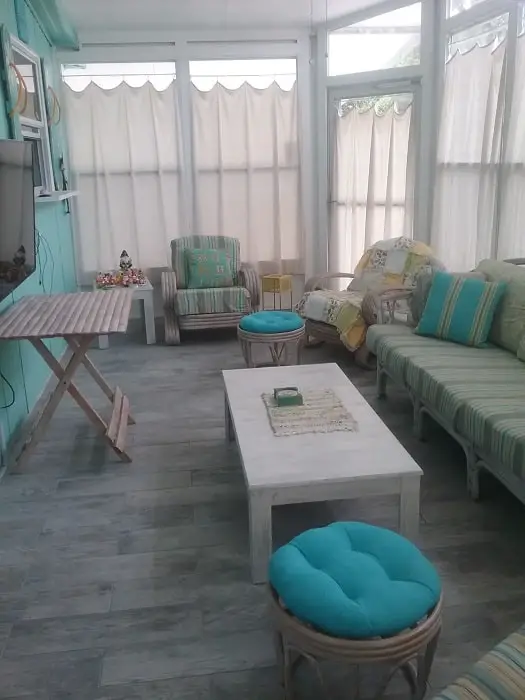
The Sunroom
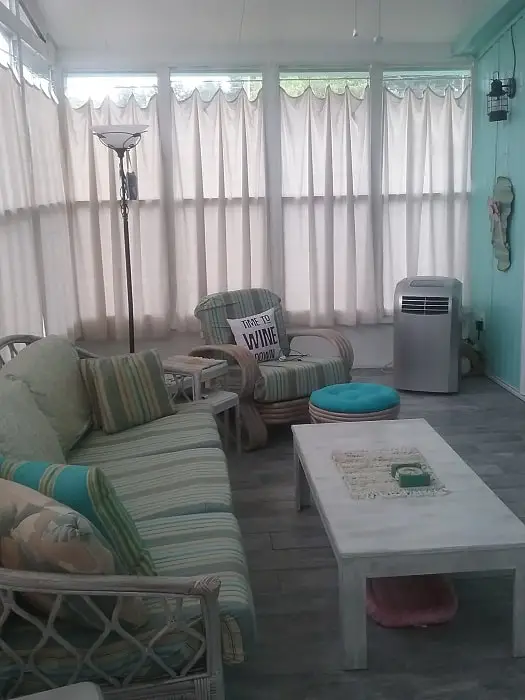
Most homes have a lanai or sunroom in Florida. It’s a great place to enjoy the regular evening showers sand beautiful sunsets. The couple took advantage of the enclosed space and added a TV and use the window for a take-out window for those extra lazy days of retirement.

The sunroom before 
Sunroom after!
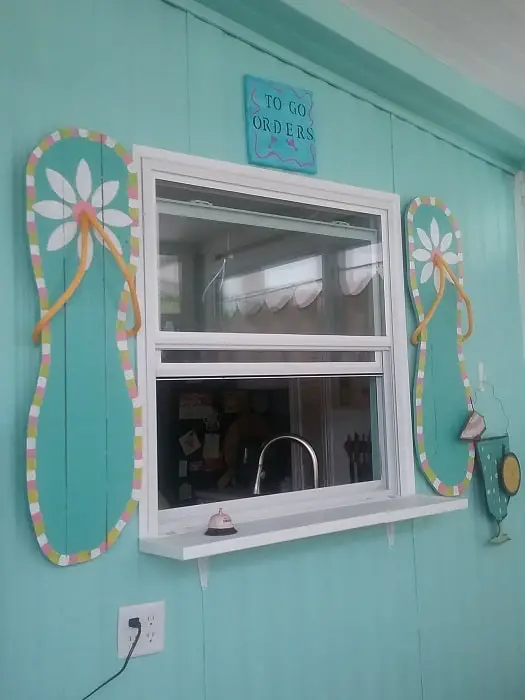
Ellen made all the curtains for the colorful coastal mobile home sunroom using drop cloths she bought at Walmart for $9.99.
Colorful Coastal Mobile Home Bedroom
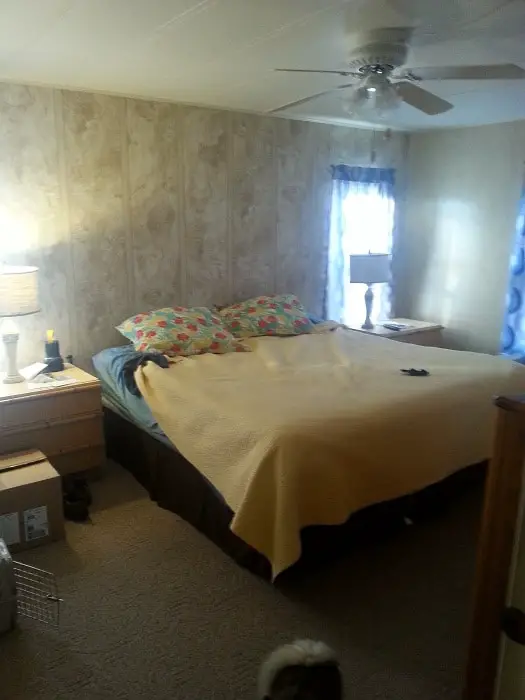
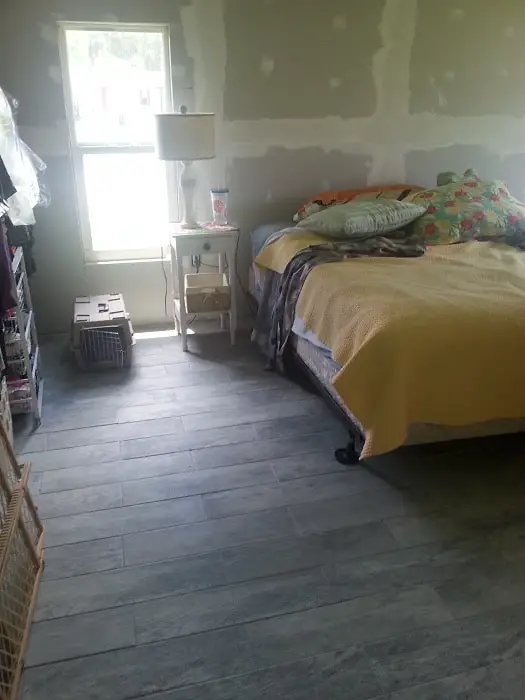
The walls in the master bedroom were the typical vinyl-covered panels with battens or splines every 2 feet. The couple removed all those gypsum wall and ceiling panels and installed drywall. You can see the drywall after taping on the right.
See 10 ideas to replace your own mobile home ceilings here.
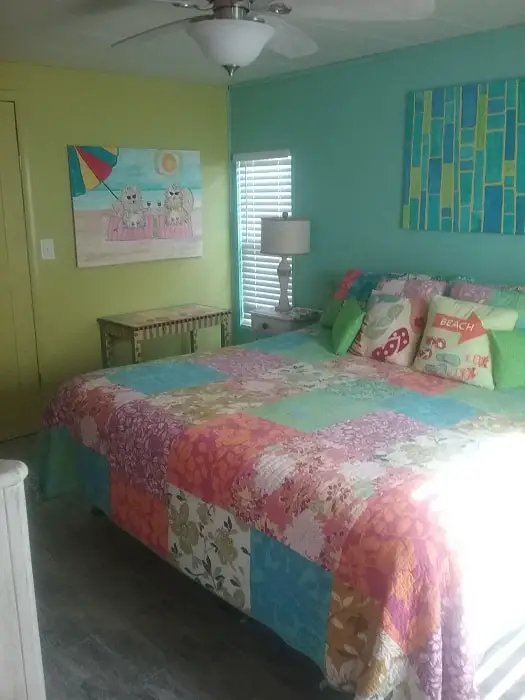
After new walls, ceilings, and flooring Ellen painted the room using blues and pale greens. The master bedroom after the colorful beach theme makeover:
Making Music is Easy in the Office
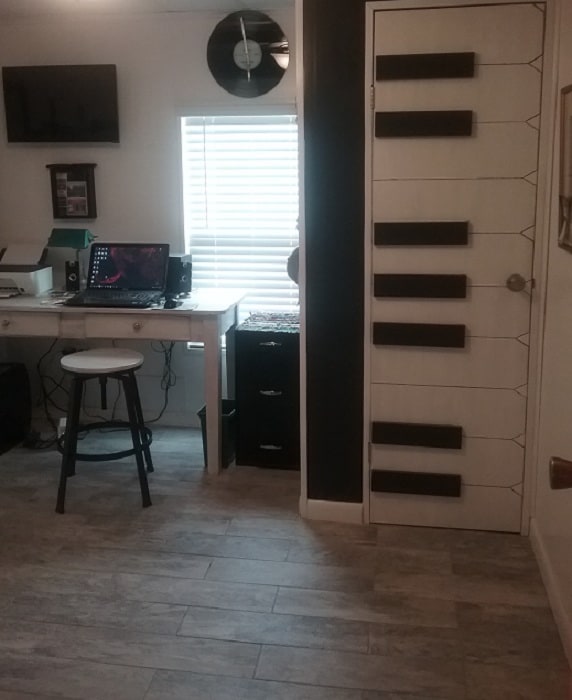
The second bedroom is one of my favorites. Alex is a musician and like all musicians, he needed an inspiring place to create music. This piano themed music room should make it a little easier.
The 3D piano keys on the closet door are awesome!
Guest Bathroom
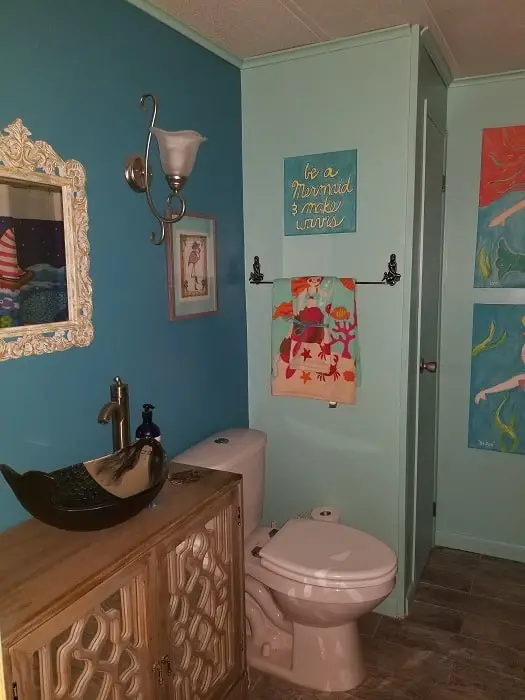
There are two bathrooms in the beach theme mobile home. The guest bath is colorful and whimsical and awesome!

The sink is so cool! 
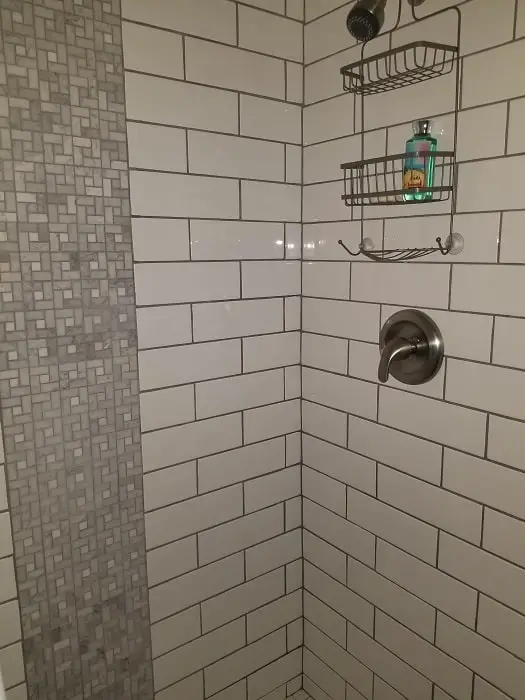
Subway tile shower in the guest bathroom.
Learn How To Remodel Your Manufactured Home Bathroom Here.
Master Bathroom
The master bathroom is even more amazing! Ellen told us that the master bathroom is both her favorite space in the beach theme mobile home and one of her proudest DIY projects.
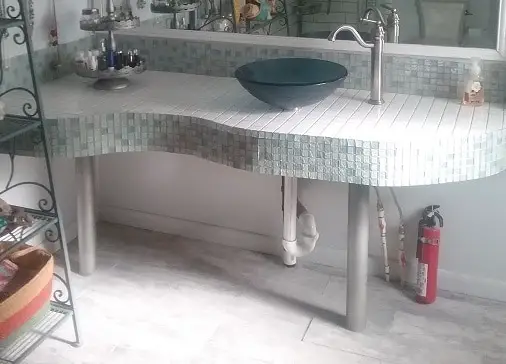
Alex and Ellen made use of every bit of space by designing a curved vanity that utilizes every inch of floor space and counter space.
Here you can see the countertop getting built on the left. On the right is the finished tiled countertop.
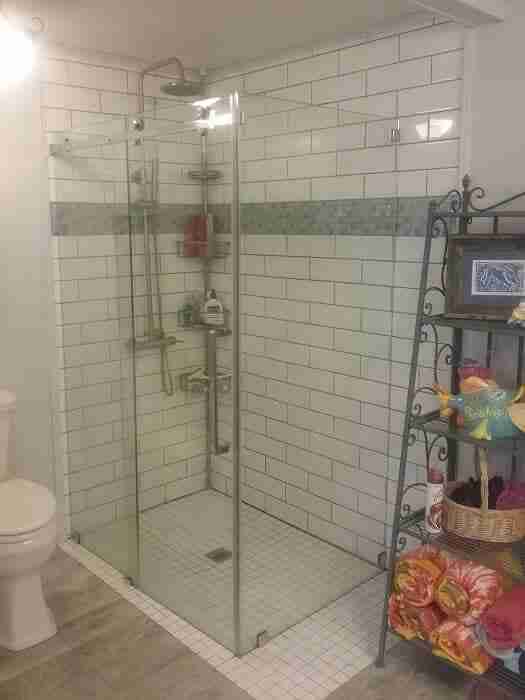
The master bathroom has a glass paneled walk-in shower that was bought from Houzz. Alex told us that the biggest challenge during the entire beach theme mobile home remodel was lowering the bathroom floor for the walk-in shower. He had less than 1/16” tolerance to make the two tiles line up.
Beach Theme Mobile Home Exterior Updates
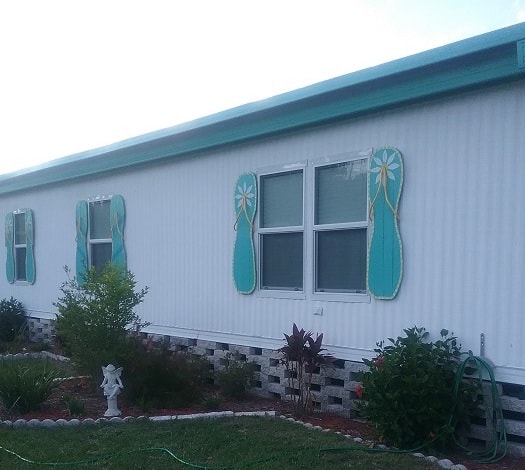
The exterior updates are just as cool as the interior – it has flip flop shutters! It doesn’t get more beachy or whimsical than that!
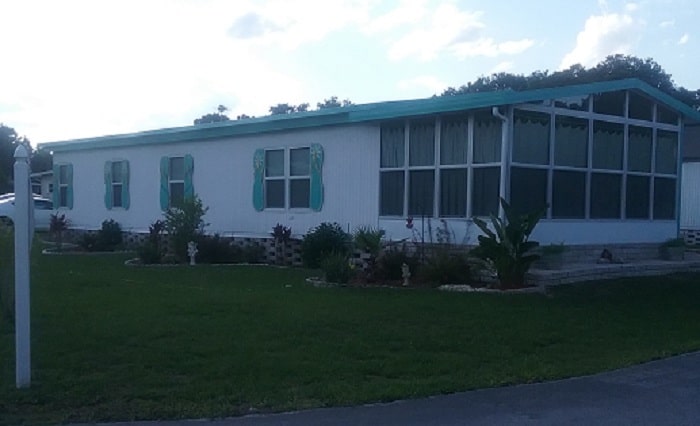
The metal siding on the 1981 double wide was in decent condition so they simply painted it a basic white and gave it beach blue accents.
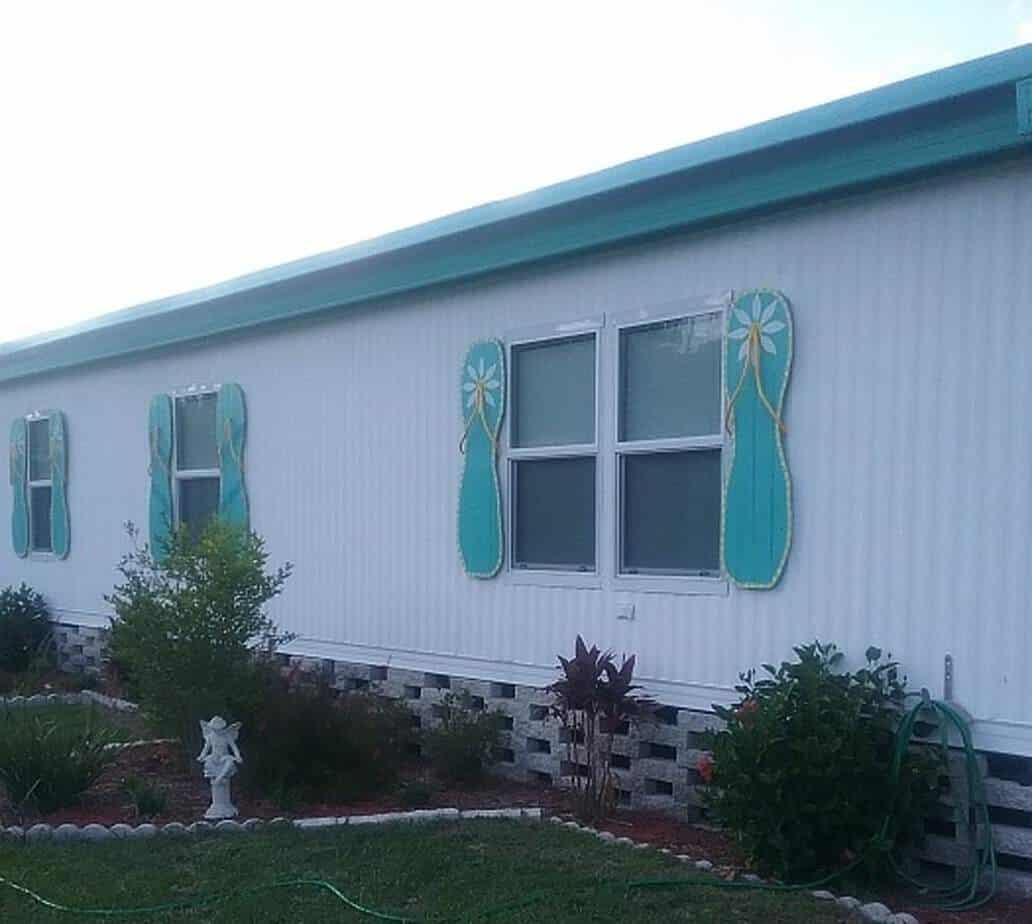
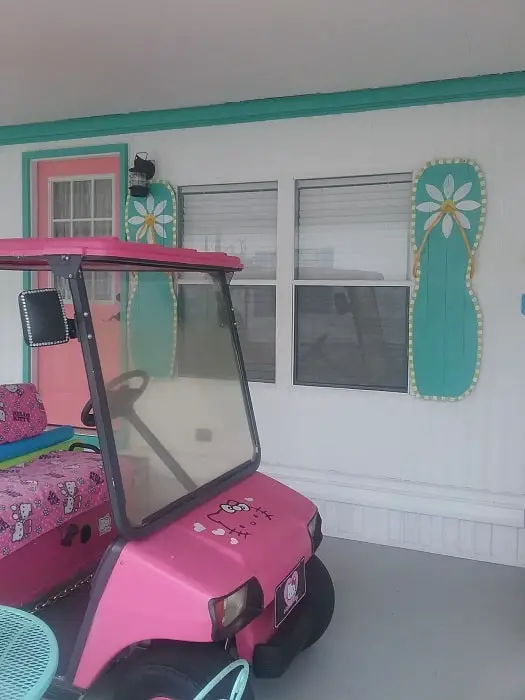
The flip flop shutters are a perfect addition to the home but the blocked skirting is pretty awesome too!
Other Projects
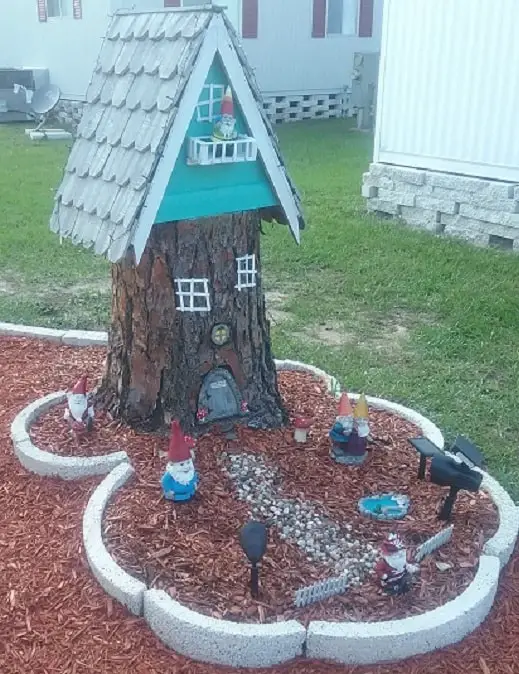
This creative couple doesn’t just work on their own home. They create cool gnome homes out of tree stumps! Ellen also painted the golf cart in a Hello Kitty. The pink door is pretty cool, too!
How to Make Your Own Flip Flop Shutters
Alex and Ellen were kind enough to share how they created their flip flop shutters. These are such a whimsical addition to any home, especially a little beach or lake house.
Materials List for the Flip Flop Shutters
In addition to basic tools like saws, screwdriver, hammer, and such you will also need the following:
- 1/2-in x 6-in x 6-ft Pressure Treated Fence Picket
- 1-in x 3-in x 8-ft Board
- Small Rope
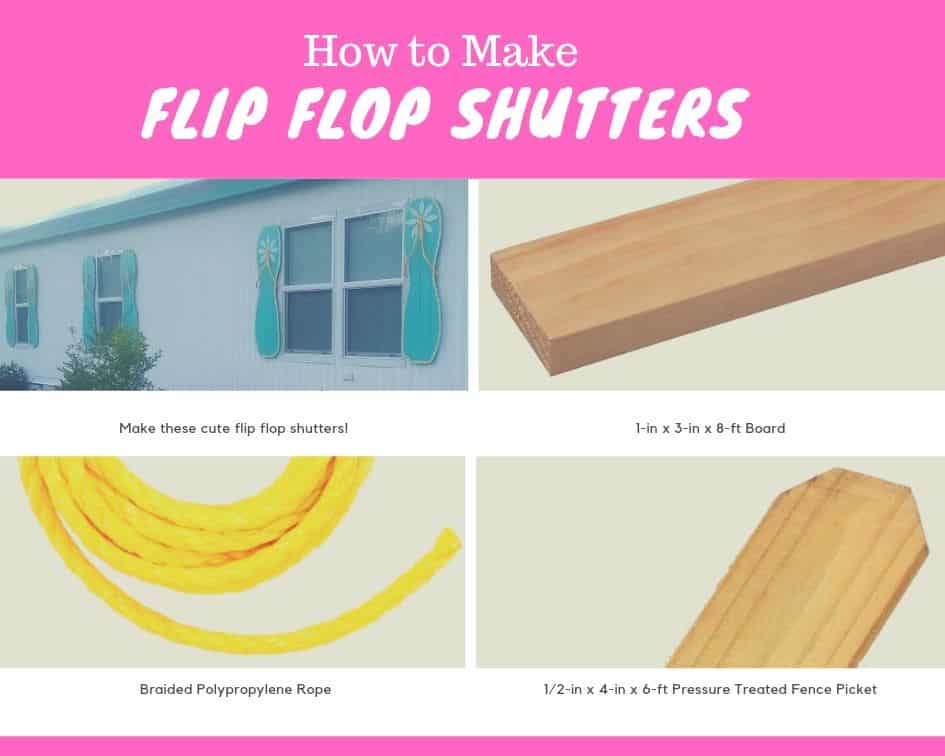
Ellen had seen photos of flip flop shutters on Pinterest but couldn’t find the instructions anywhere so they had to figure the entire project out on their own. Of course, that was no problem for this creative couple.
Measure
Step one is to measure the height of your window. For the 1981 Nobility double wide the windows are 52” long.
Figure out the Cross Board Placement
Cheap fencing boards that were already prepped for outdoor use were chosen for the flip flop shutters. Alex found the 4″ wide pickets at Lowe’s for $1.10 each (6’ X 4”). Next was figuring the width.
They decided on 16″ which required 4 boards set next to each other with no space. These cheap boards are prone to warp, so Alex added 3 cross-boards to hold them together using 1” X 3” standard boards.

The hardest part of installing the flip flop shutters was figuring out where to place the cross boards on the flip flops so they would catch either a window casing stud or a cross member, or belt rail, on the perimeter of the house. Once the cross board placements were figured out, Alex put assembled four or the 6′ long by 4″ pickets side by side. This created a surface that was 16″ wide and 6′ long.
Design and Cut
Once the ‘flops’ were assembled, Ellen drew the flip flop shape free hand and Alex used a jig-saw to cut it out. You can find flip flop shaped patterns on Pinterest here.
Add Rope
Even though the weight of the flip flops was minimal, they did not want them supported by the siding alone.
Next was the rope for the ‘flip flop straps.’ There were several options but they chose polyester nautical rope since it is supposed to handle direct sun exposure.
Prime and Paint
Ellen handled the priming, painting, and overall design. She made sure the cross boards were primed too to avoid future rot.
Once that was done, they flipped the original over and made the rest.
To install the flip flops on to the mobile home they drilled a 1” hole at 10.5” from the top, made a loop in the rope, attached the two ends to a cross member and hung it.
They estimate they have a total of $120 invested in all the shutters combined. Not bad considering Mobile Home Depot wants $45 PER shutter for the same size shutter. They saved a ton of money.
Pin this image on Pinterest so others can find the colorful coastal mobile home:
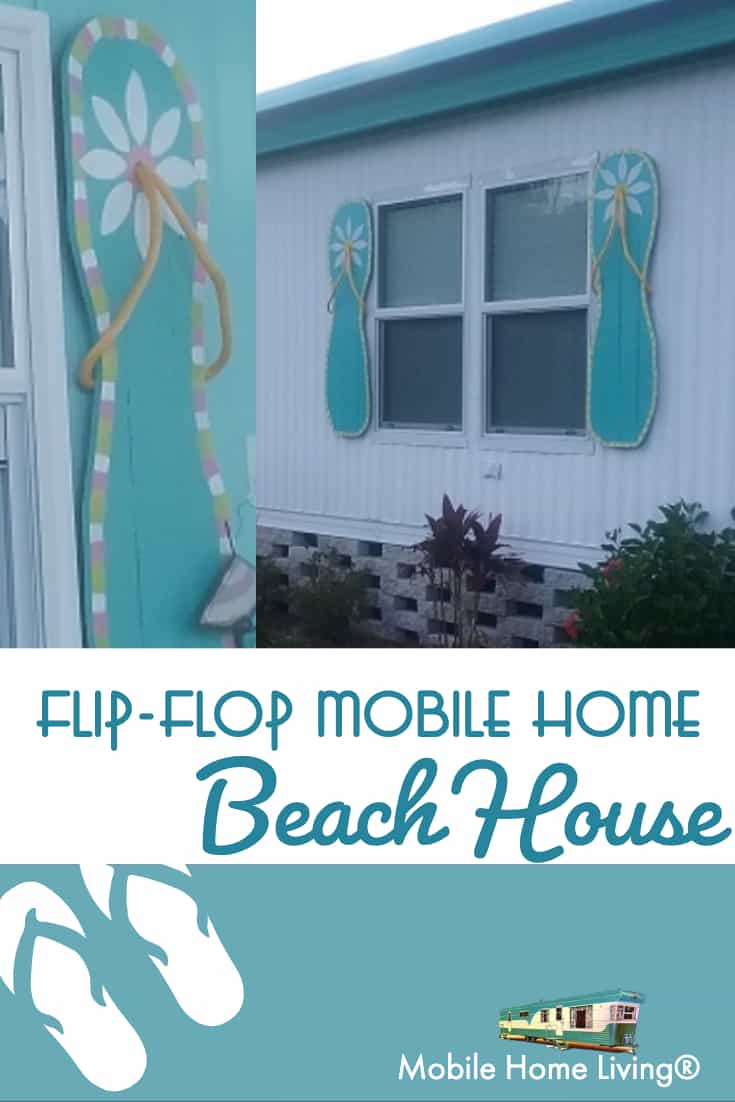
This Colorful Coastal Mobile Home is Awesome
The Birdwells have turned drab into fab! They created a truly unique home that will surely give them and their neighbors a smile every single day. It’s lighthearted and whimsical without being tacky. It’s a home that will stand out and become a beloved place to take children on walks.
The Birdwells weren’t interested in spending their retirement years in a pretentious home that is uncomfortable and uptight. They want their home to be a fun, easy going, and relaxed. They certainly achieved it with their colorful beach house with cool flip flop shutters.
Thank you, Ellen and Alex, for letting us tour your beautiful and colorful coastal mobile home. You are adding a little joy to other people’s day and giving someone something to smile about which are always a gift.
Life really is better in flip flops! Thank you so much for reading Mobile Home Living®!




2 thoughts on “Colorful Coastal Mobile Home with Flip Flop Shutters (incl. instructions)”
Hi Carla!
I’m always looking for homes to share! Could you please send whatever photos you have to getfeatured@mobilehomeliving.org and we’ll go from there. Thanks so much!
I purchased a mobile home one year ago. I have done some remodeling and painting of the outside. If it would be of interest, you are welcome to feature it. unfortunately, I do not have before pictures of the flooring.